Microsoft System Center Configuration Manager (SCCM)
Create an Uninstall Program using PowerShell
The following example shows the steps to create an uninstall SCCM Program using PowerShell:
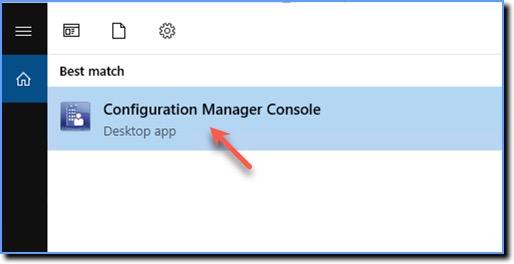
- On your Windows system, open the Configuration Manager Console.
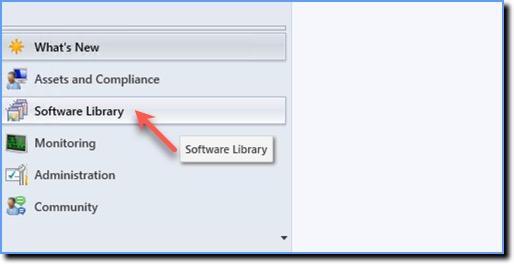
- Click Software Library.
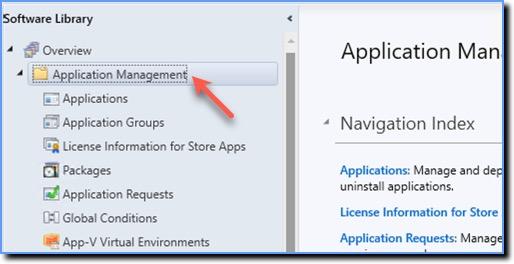
- Expand Application Management.
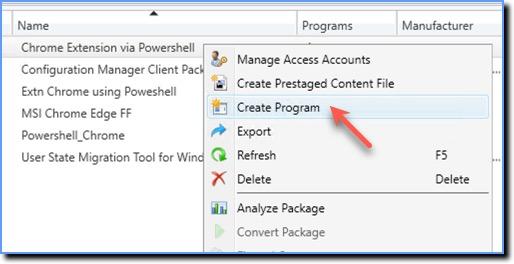
- Right-click the Package you just created, and click Create Program.
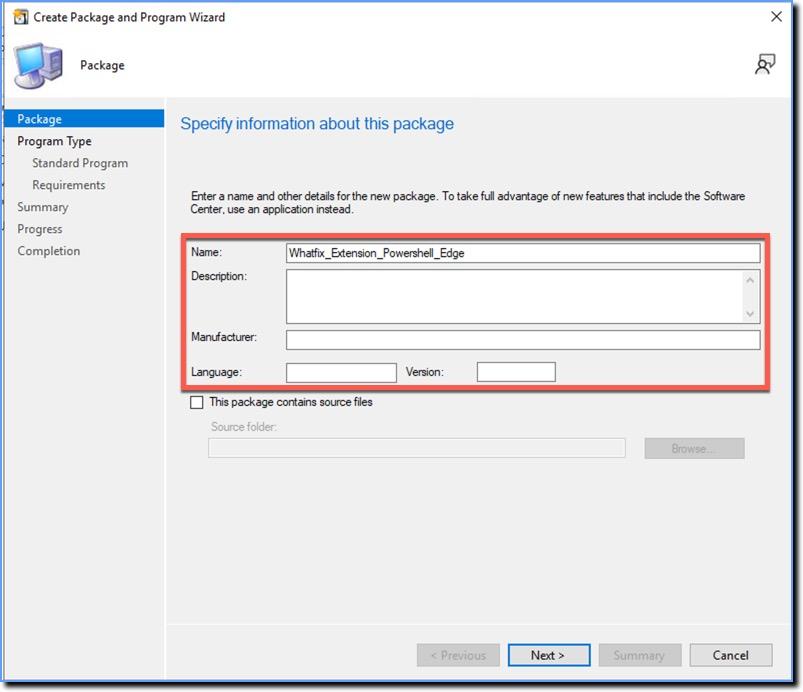
- In the Create a Package and Program Wizard, specify a name and other information.
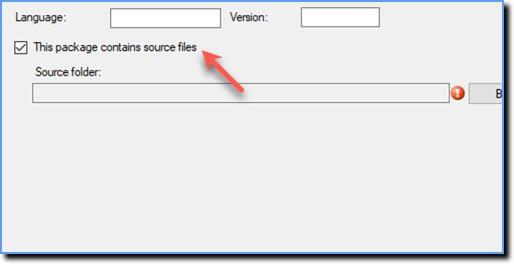
- Select the This package contains source files checkbox.
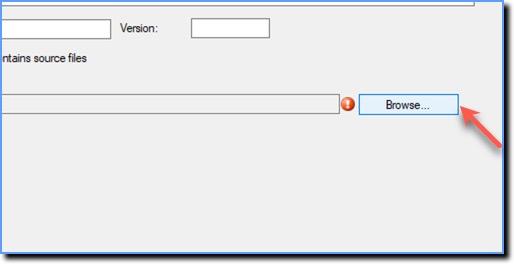
- Click Browse.
- In the Set Source folder window, select Network path (UNC name), and then click Browse once again.
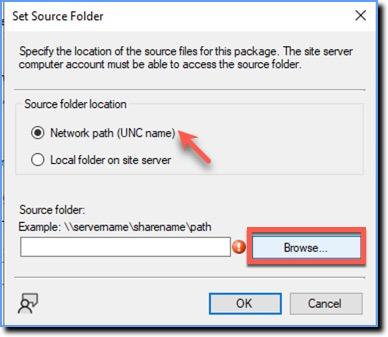
- Select or enter a source path and then click OK.
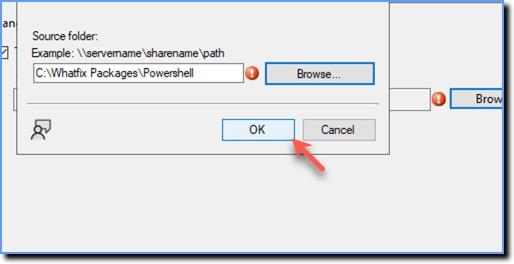
A folder must be created in the primary site server where you download and save the PowerShell script. In this step, select the location of the source folder. For example, \\wfx-sccmps01\Whatfix Packages\Powershell.
- Select Standard program.
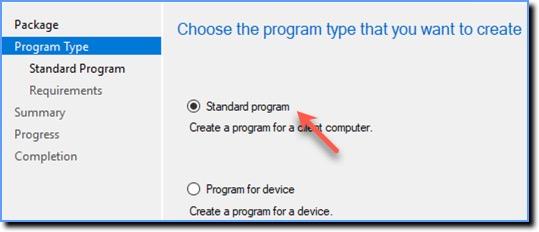
- Click Next.
- In the Specify information about this standard program section, enter the following information for each field: - Name: Install Extension on Chrome - Command line:
powershell.exe -executionpolicy bypass -file "Whatfix-ExtensionInstall.ps1" -Browser Chrome -Remove True- Run: Hidden - Program can run: Whether or not a user is logged in - Drive mode: Runs with UNC name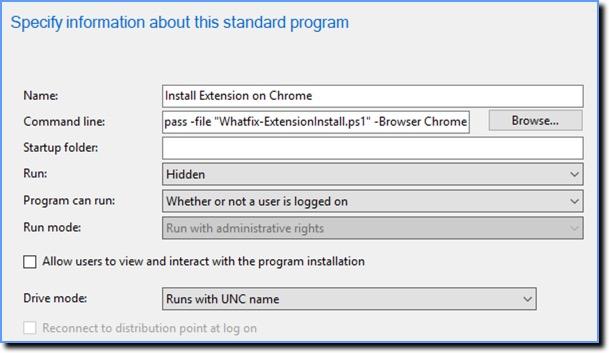
If you want to create a program to uninstall the package on Edge, use the following command line: powershell.exe -executionpolicy bypass -file "Whatfix-ExtensionInstall.ps1" -Browser Edge -Remove True
- Click Next.
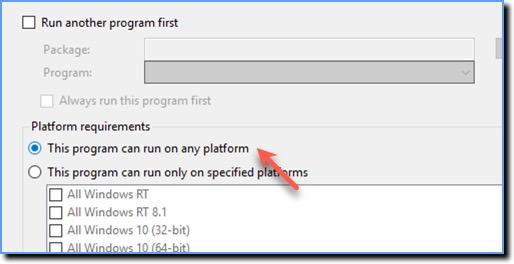
- Select This program can run on any platform.
- Click Next.
- Click Next.
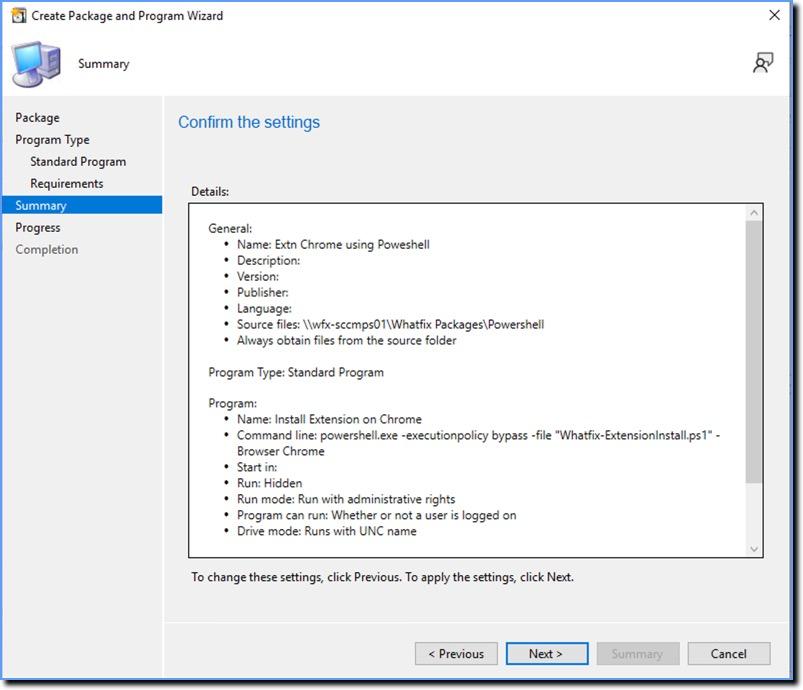
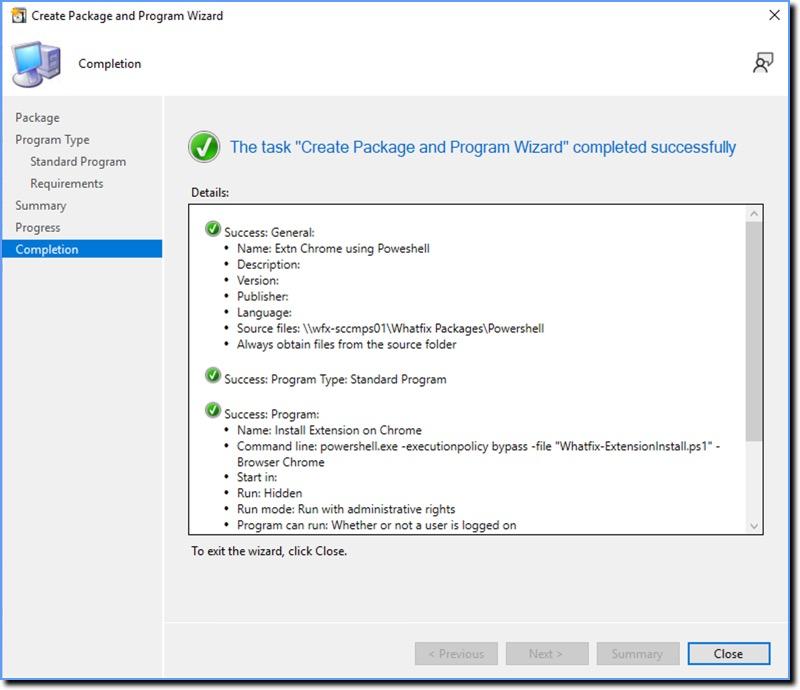
The Completion section displays the following message if the Package is created successfully: