New Visibility Rules for Widgets
Understand the new Visibility Rules for widgets
Overview
The new Visibility Rules experience determine where, when, and to whom you display various Whatfix widgets, such as Self Help, Task List, Pop-ups, Launchers, Surveys, Beacons, and Smart Tips. These rules help you target specific user groups or contexts for showing relevant content. For example, configure Visibility Rules based on URL properties, other elements on the page, window variables, or attribute conditions.
The new Visibility Rules experience provides better control over the display of your Whatfix widgets. Compared to the old experience, it provides a more intuitive interface, expanded triggering options, and better support for advanced use cases. This enables you to create highly targeted and dynamic widget experiences. For a detailed comparison between the old and new Visibility Rules, see What has changed in New Visibility Rules?
- The new Visibility Rules experience can only be used when configuring widgets at the segment level. Currently, Role Tags, Page Tags, Step display rules, and branching rules are still configured using the old Visibility Rules, even after migrating to the new Visibility Rules. This means that when configuring widgets at the step level, you still encounter the old rules rather than the new ones.
- To know more about the new Visibility Rules, contact support@whatfix.com.
Here's an orientation video on the new Visibility Rules experience.
List of new Visibility Rule conditions
The following table lists all the conditions used while configuring the new Visibility Rules to segment widgets. These conditions determine when, where, and to whom Whatfix widgets are to be displayed on your application.
Click each new Visibility Rule condition in the following table for more information.
| New Visibility Rule Condition | Corresponding Previous Visibility Rule Condition | Description |
|---|---|---|
Specific date range 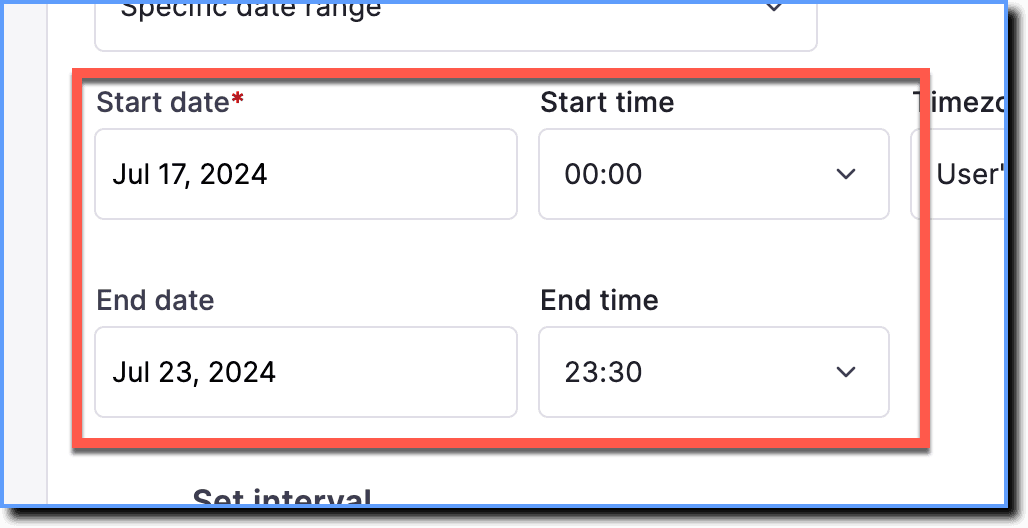 | Part of the When condition (available only for Popup, Survey, Beacon, and Task List) 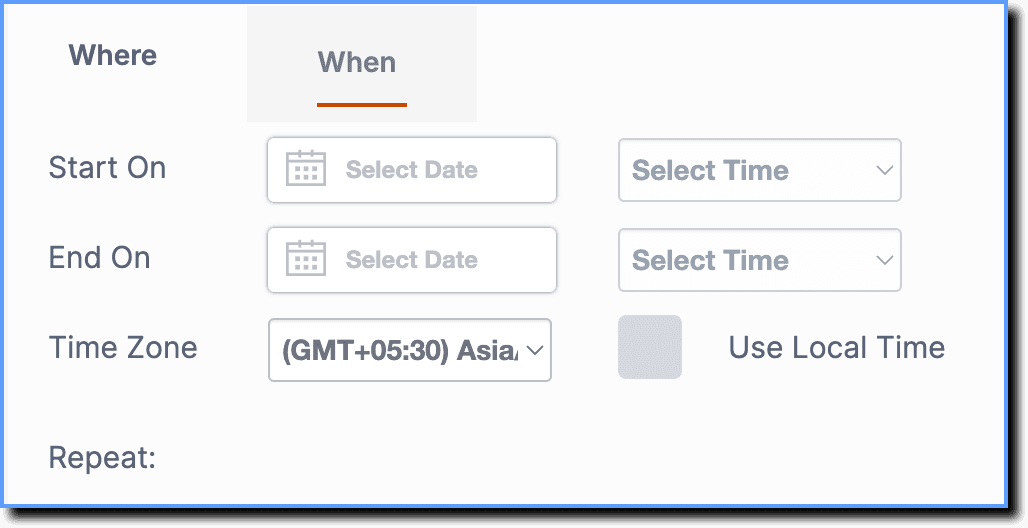 | Show widget from a specific date and time. |
Something on the application 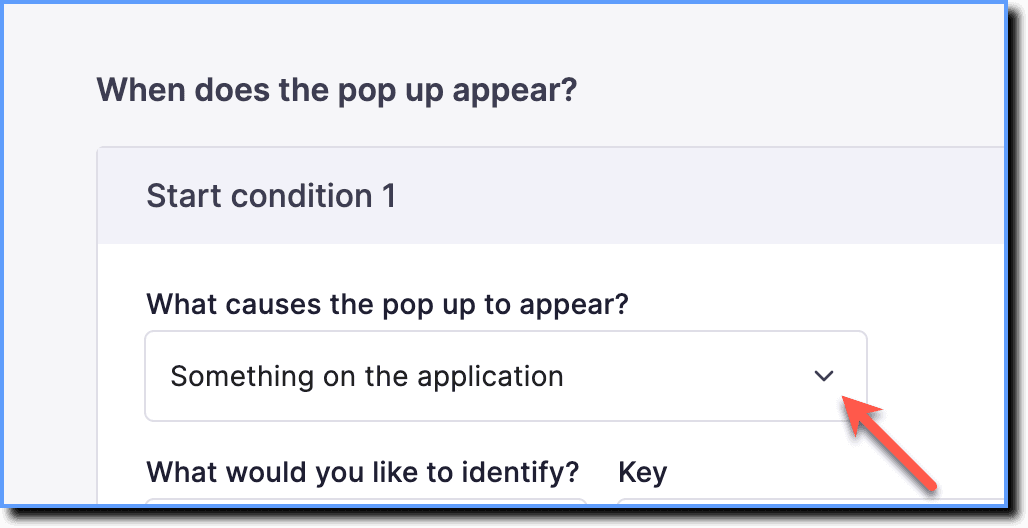 | Other Element Is 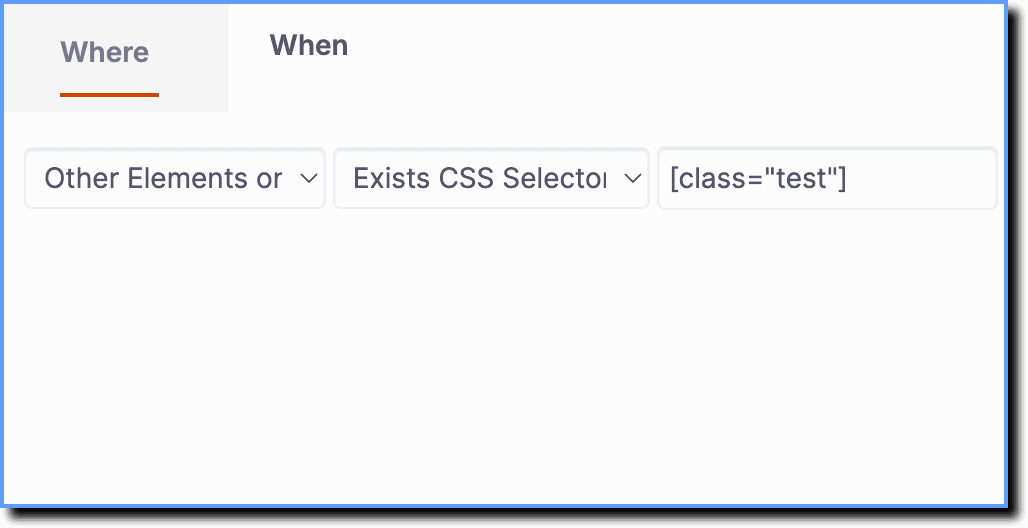 | Show widget based on the presence of a specific element on the page. |
Users performing an action 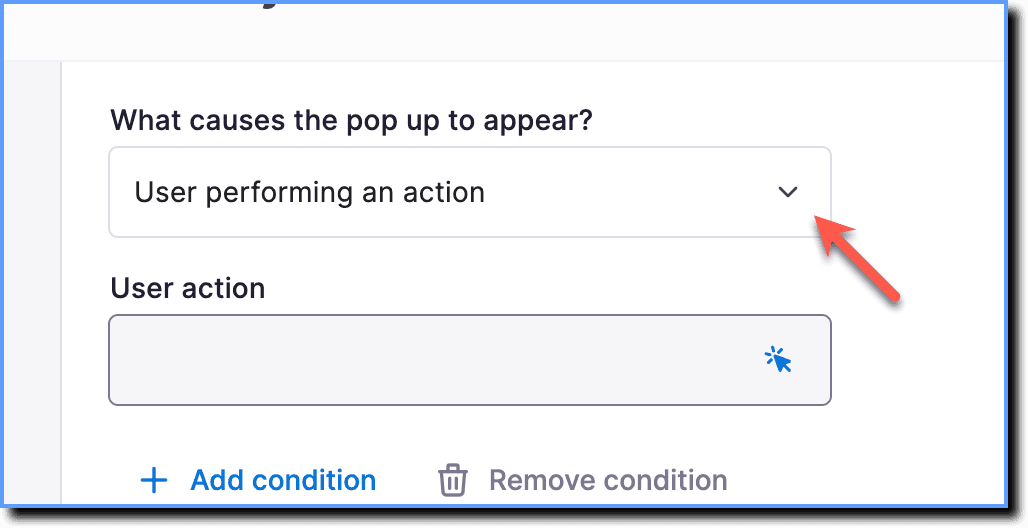 | User Action 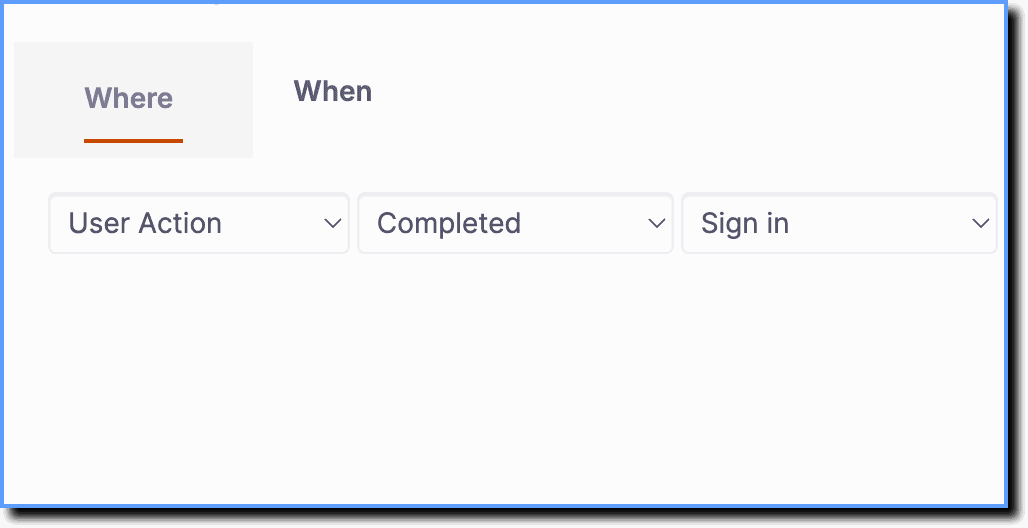 | Show widget based on the completion of a user action. |
Events related to Whatfix content 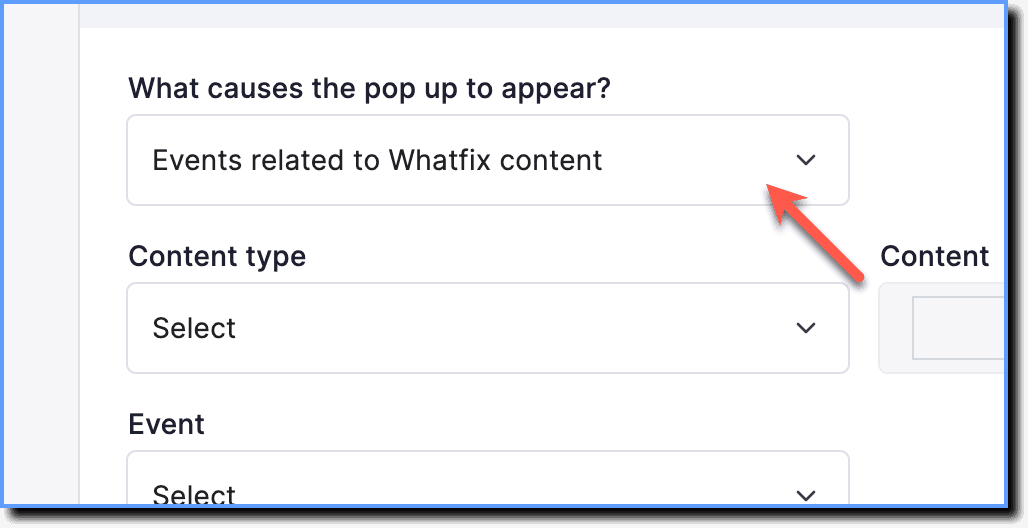 | Available only on the new Visibility Rules experience | Show widget based on callbacks from existing Whatfix content |
URL 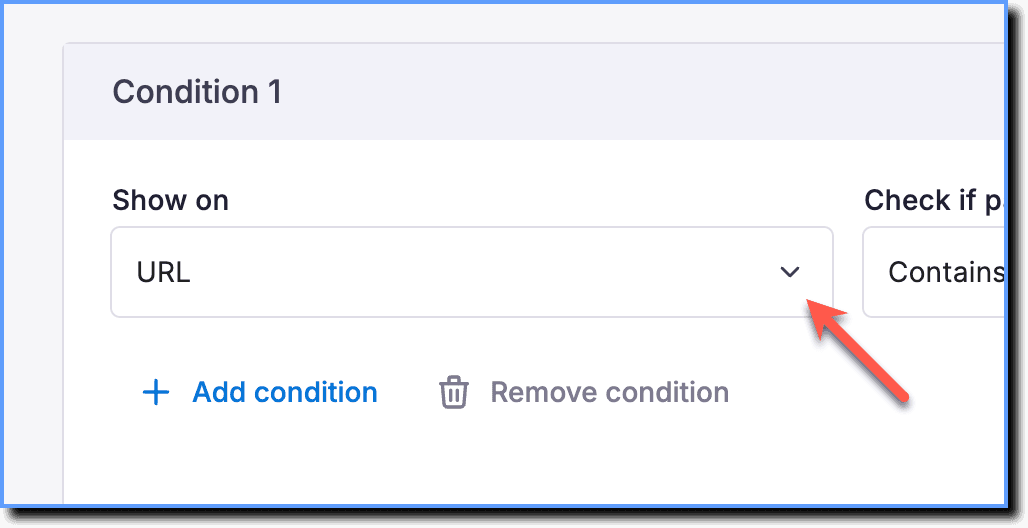 | URL 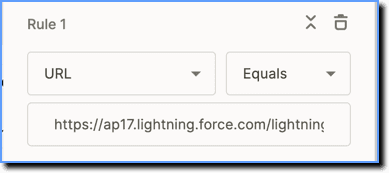 | Show widget on the entire specified URL. |
Domain 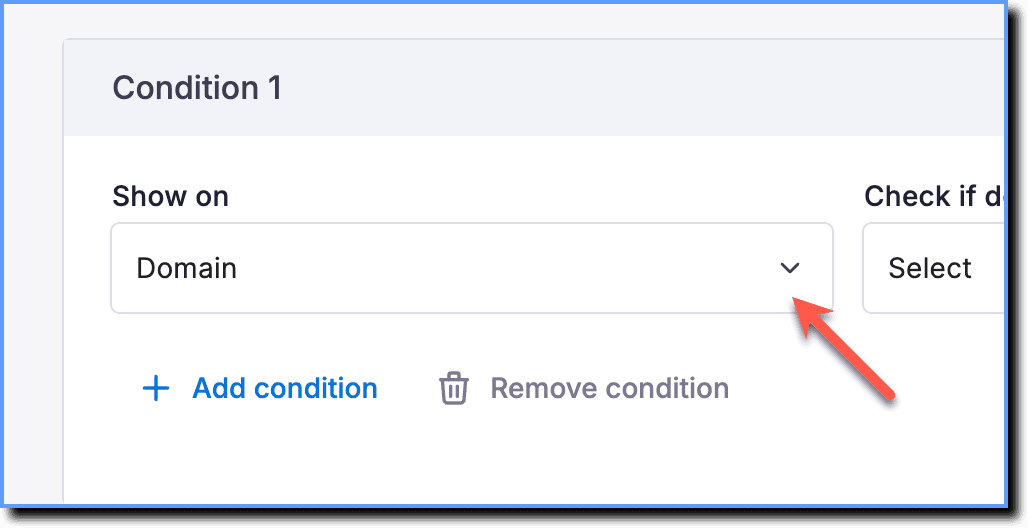 | URL Hostname 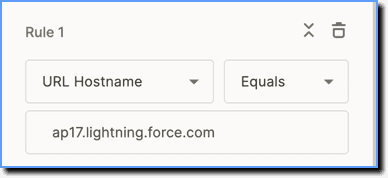 | Show widget on a specific domain. |
URL path 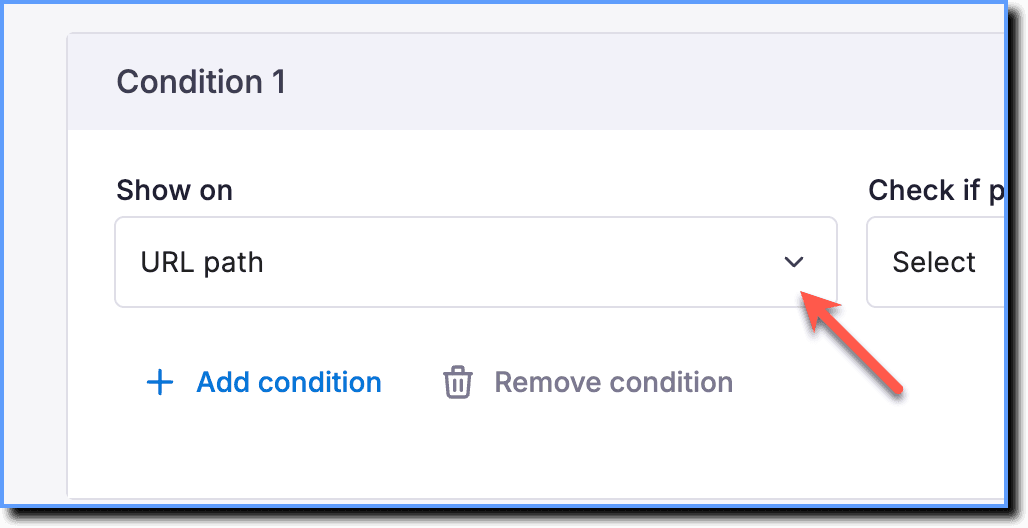 | URL Path 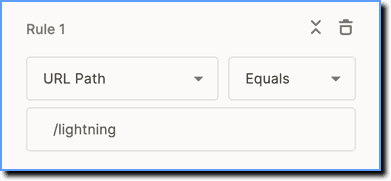 | Show widget on a specific section of a URL. |
URL parameter 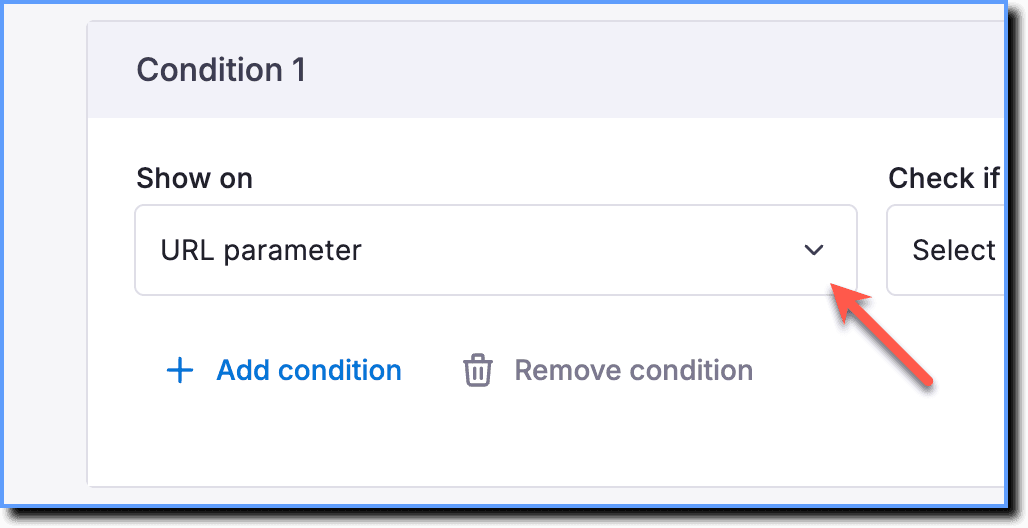 | URL Parameter 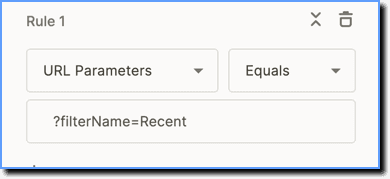 | Show widget based on parameters in the URL. |
URL hash value 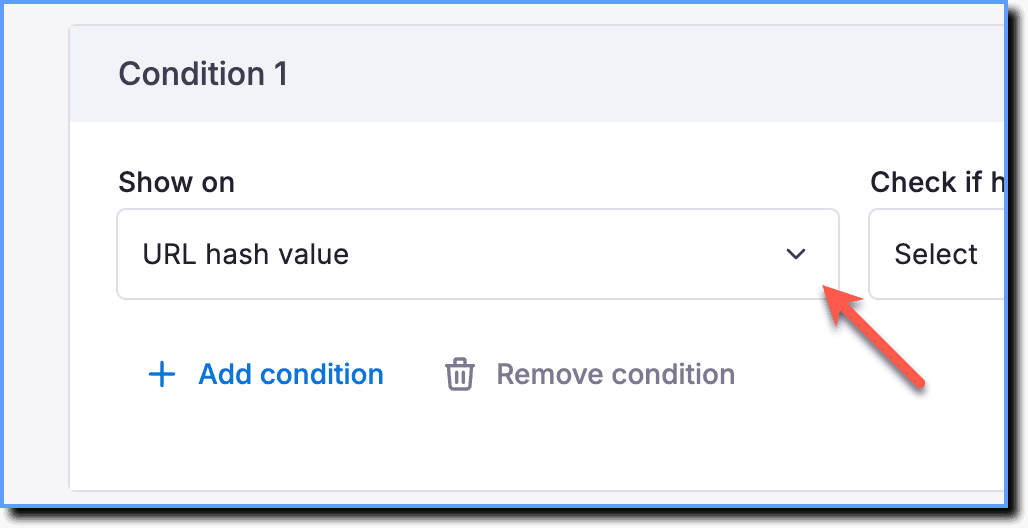 | URL Hash 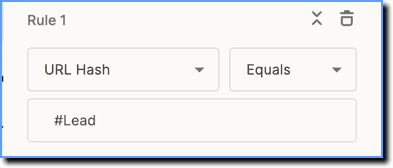 | Show widget based on the hash value of the URL. |
Page tags 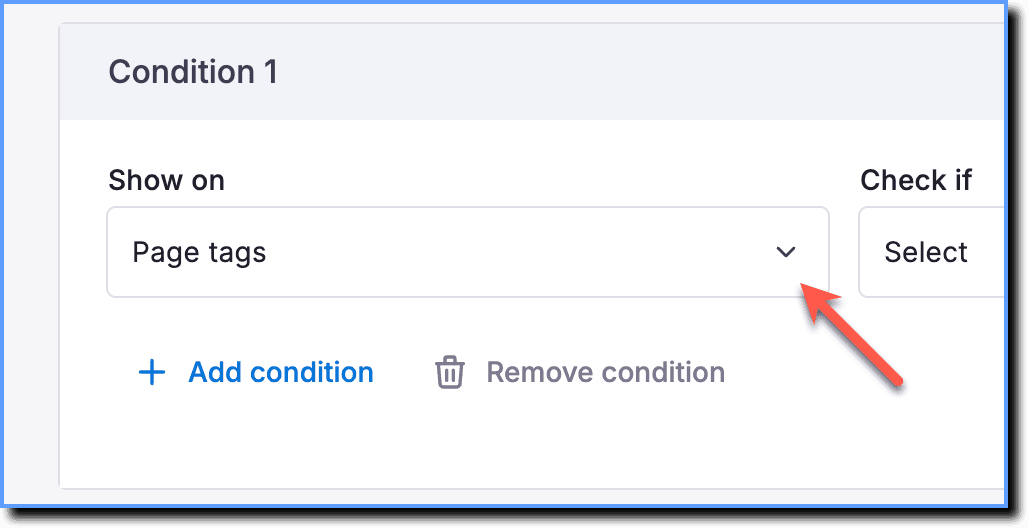 | Page Tag 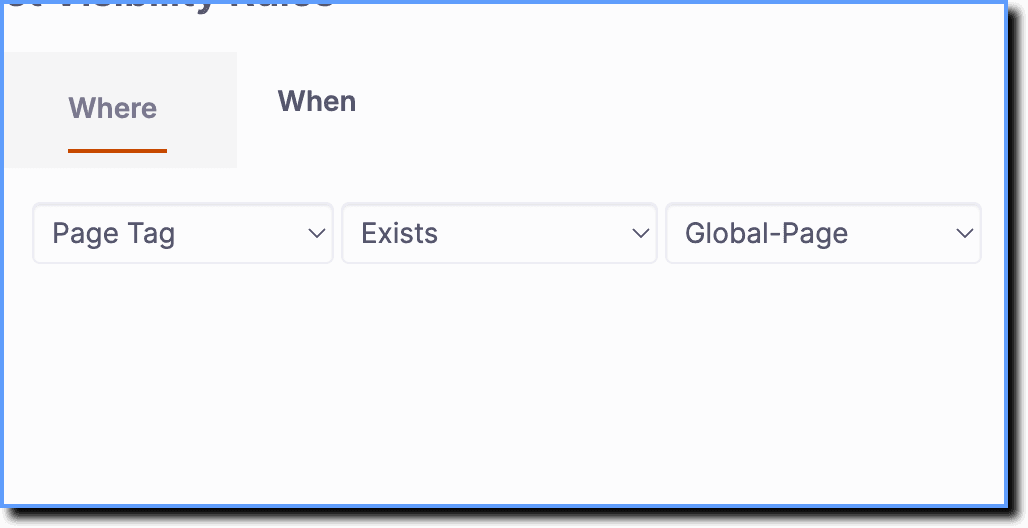 | Show widget based on page tags assigned to the page. |
Enterprise Attributes 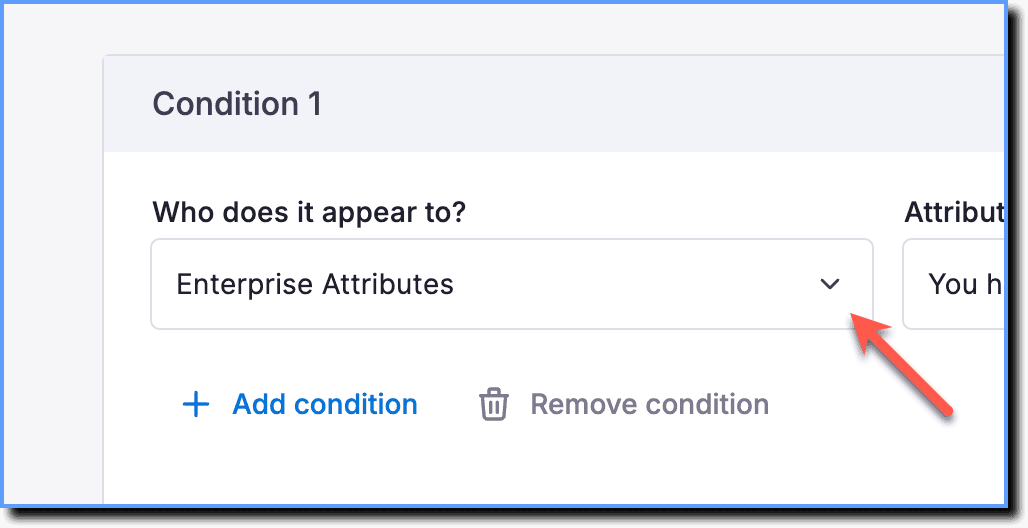 | Enterprise Attributes 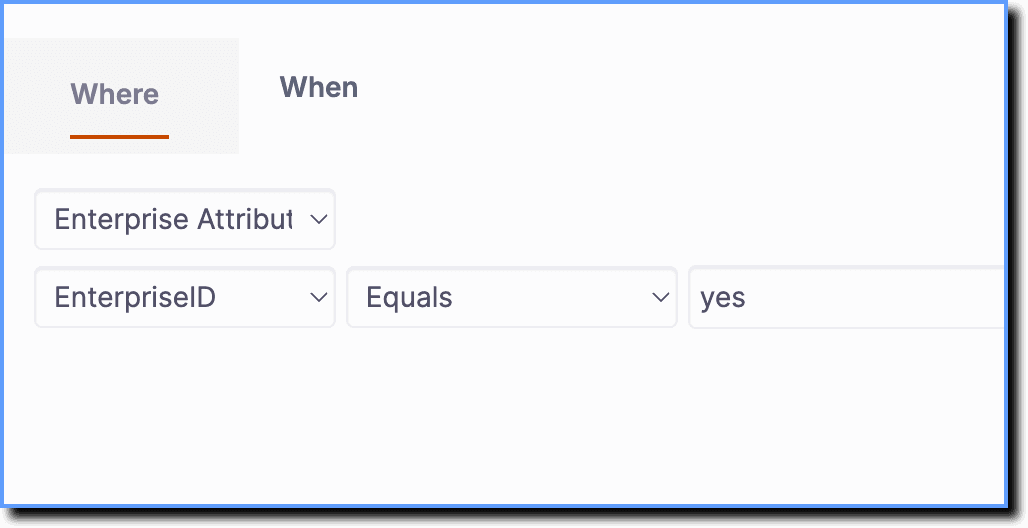 | Segment content based on user roles, departments, geography, accounts, and more. |
User Attributes 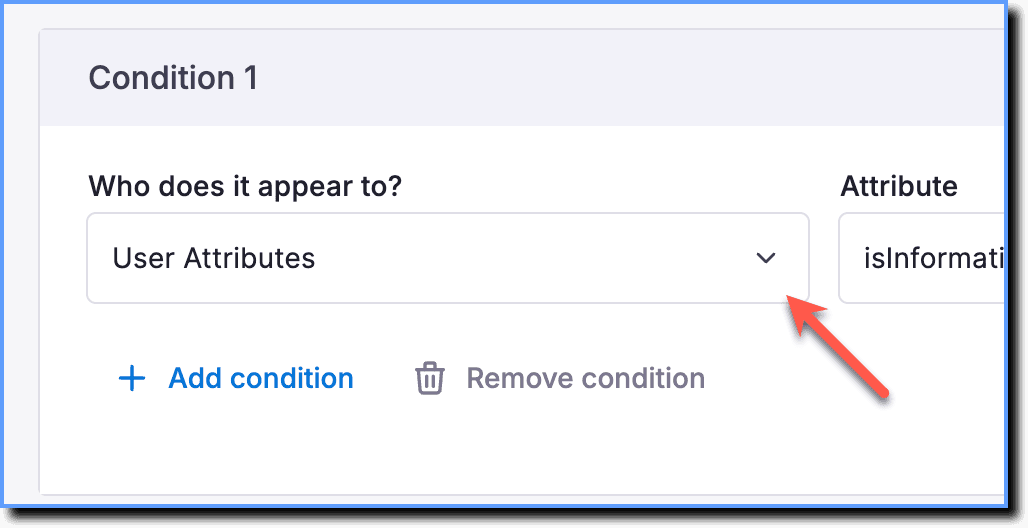 | User Attribute 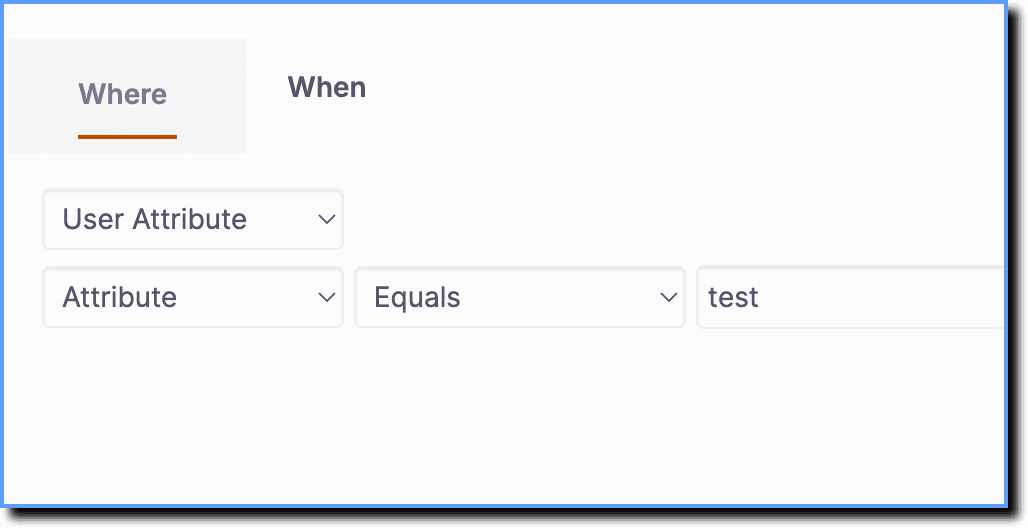 | Segment content based on end-user information from your application. |
Roles 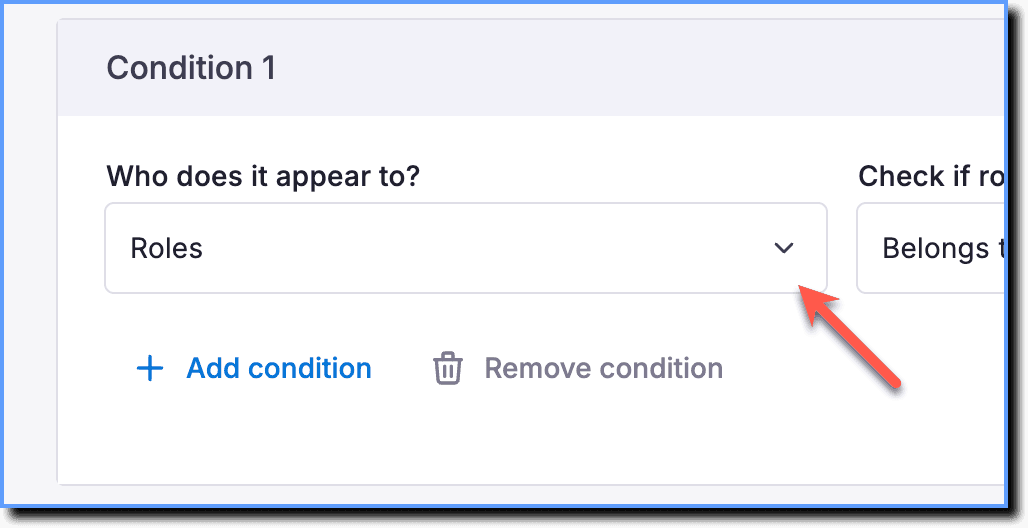 | Role Tag 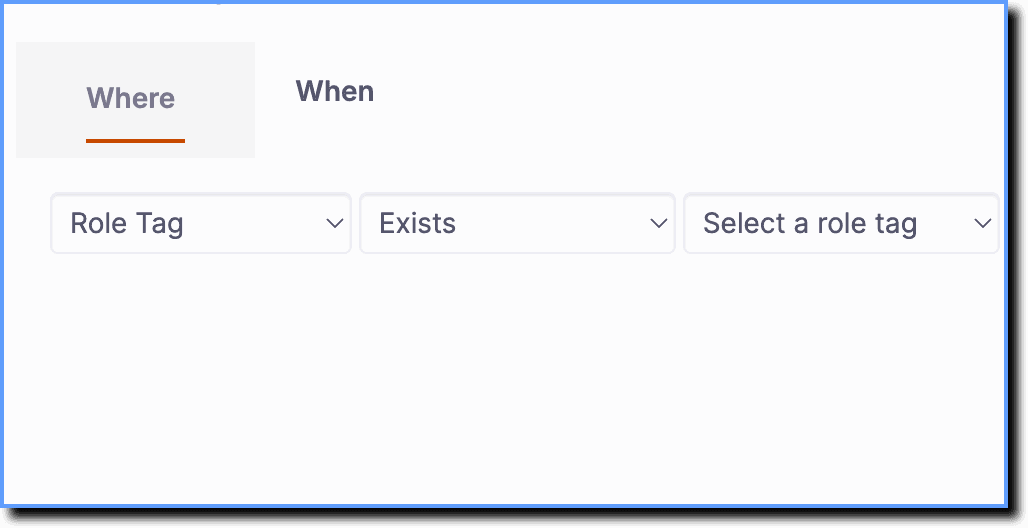 | Show different content to users with different roles. |
Cohorts 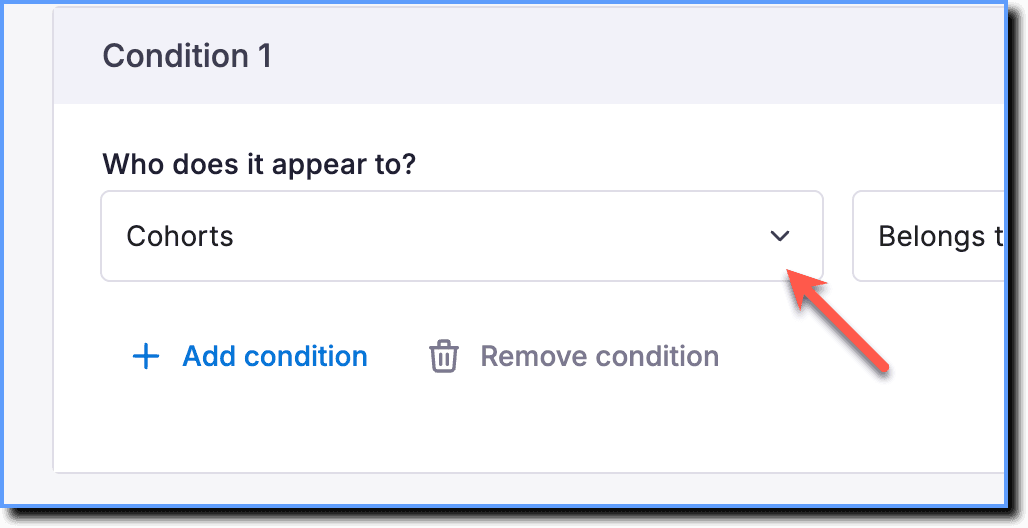 | Users 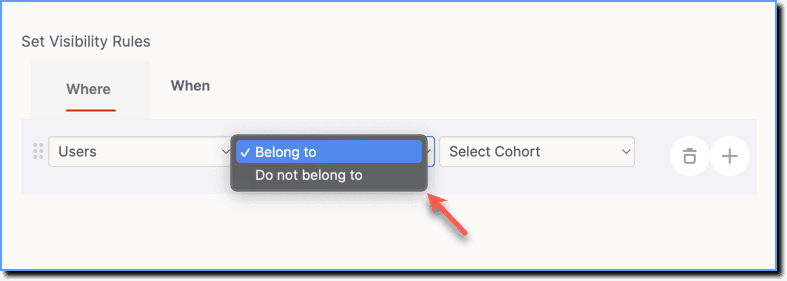 | Show content to specific user groups based on certain use cases. |
Configure a new Widget using the new Visibility Rules experience
Use the following steps to access the new Visibility Rules for any widget:
The following steps show how to configure the new Visibility Rules for a Pop-up. This process is similar for all other widgets.
-
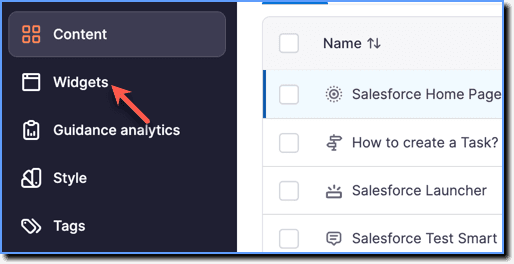
On the Whatfix Guidance dashboard, click Widgets.
-
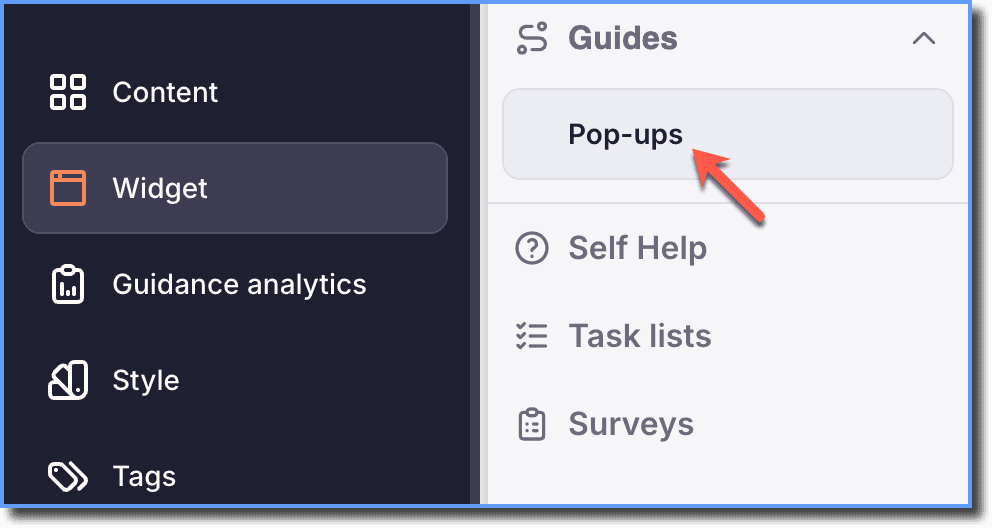
Click Pop-ups.
-
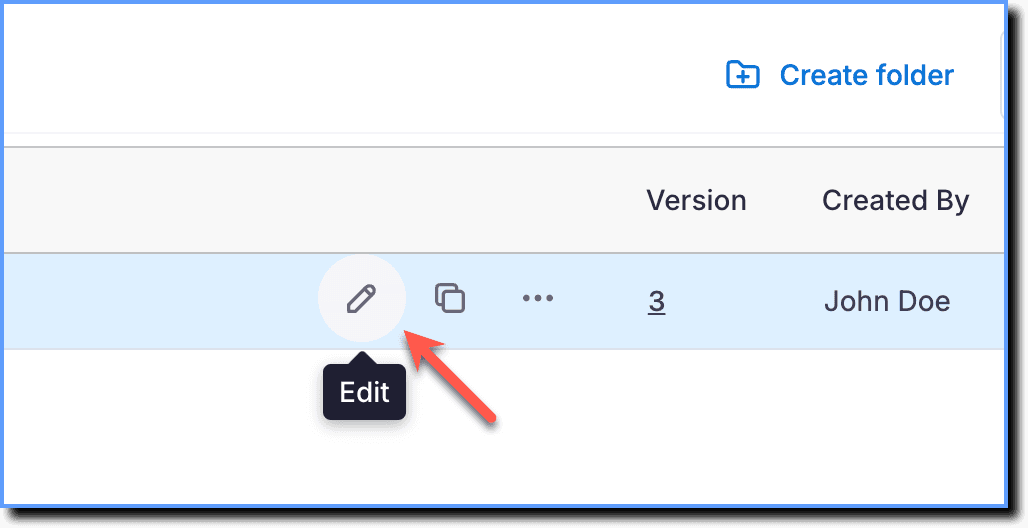
Hover your cursor over the Pop-up segment you want to configure, and then click the Edit icon.
-
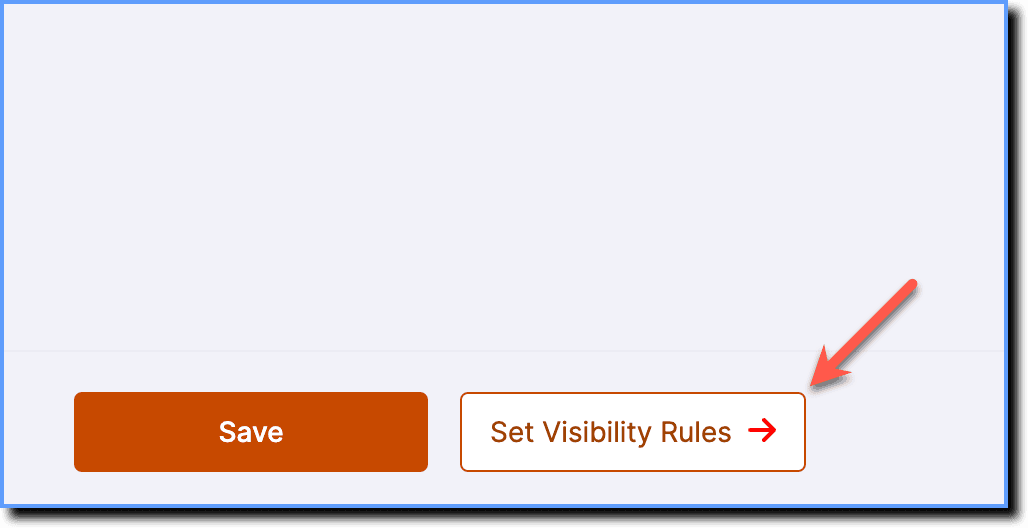
Click Set Visibility Rules.
 2. On the Visibility rules page, set the following conditions:
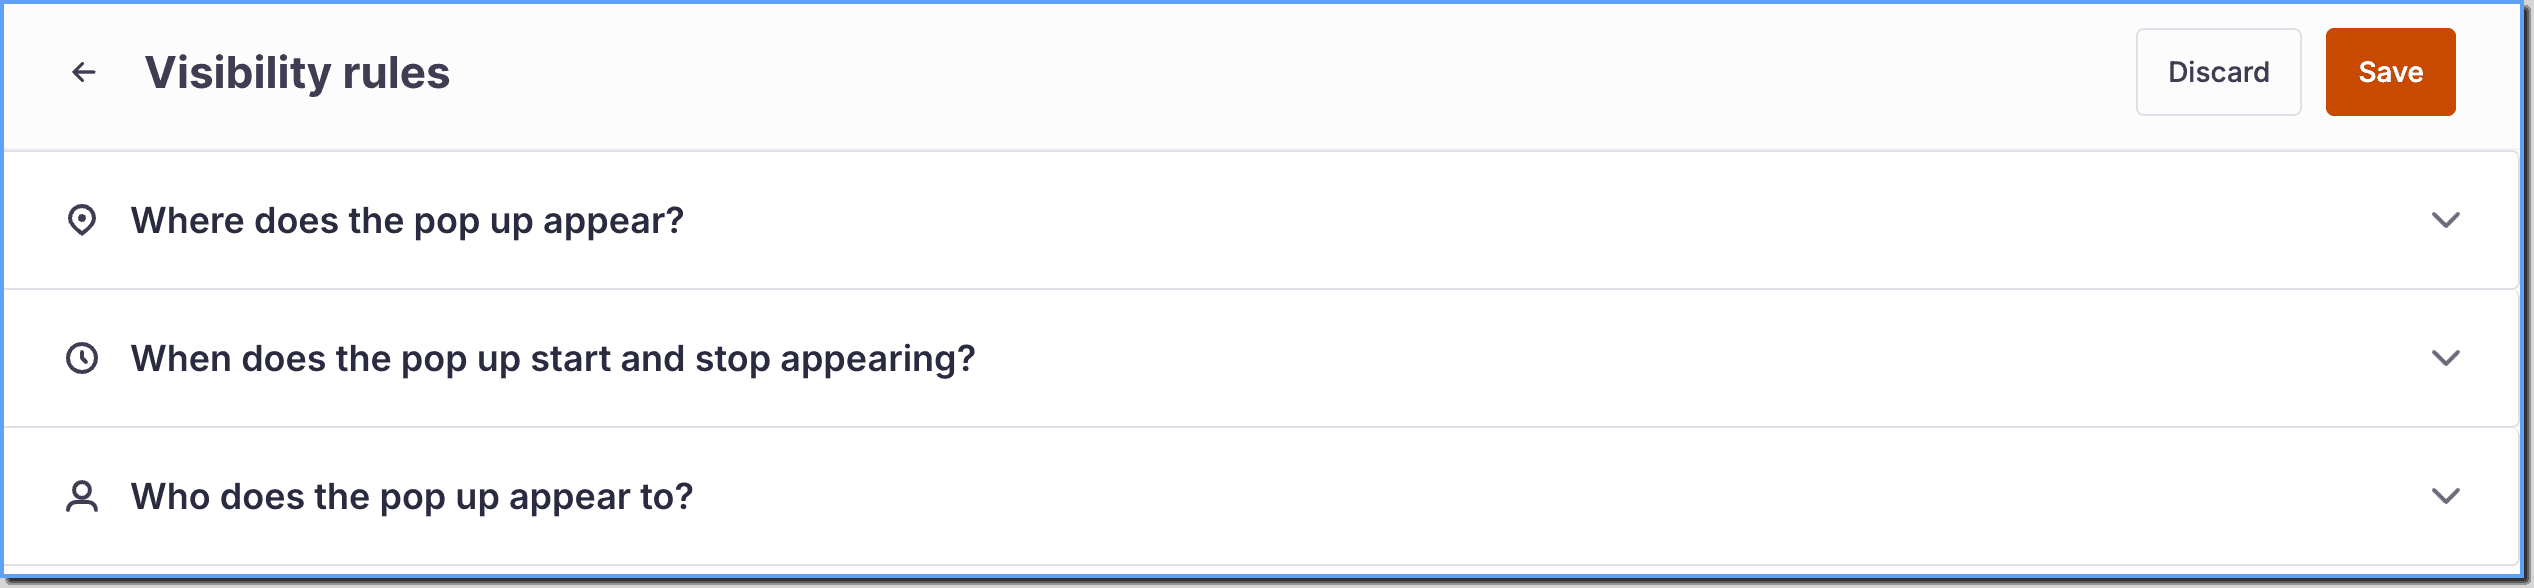
- When does the pop up start and stop appearing?
- Where does the pop up appear?
- Who does the pop up appear to?
- Once you have added all required Visibility Rules, click Save.
 4. Finish creating the widget and then click Save.