Pop-Ups
Insert an image in a Pop-up
Visual Editor enables you to insert an Image in a Pop-up template directly using the UI, without needing to edit the JSX code. Embed images in any Pop-up template by adding their URL. Any image you want to insert in a Pop-up has to be first hosted on the Whatfix dashboard, or on an online image-sharing website like Imgur, ImgBB, and more. Once hosted, use the image URL to add the images.
Note
- Ensure that you have the image URL before proceeding.
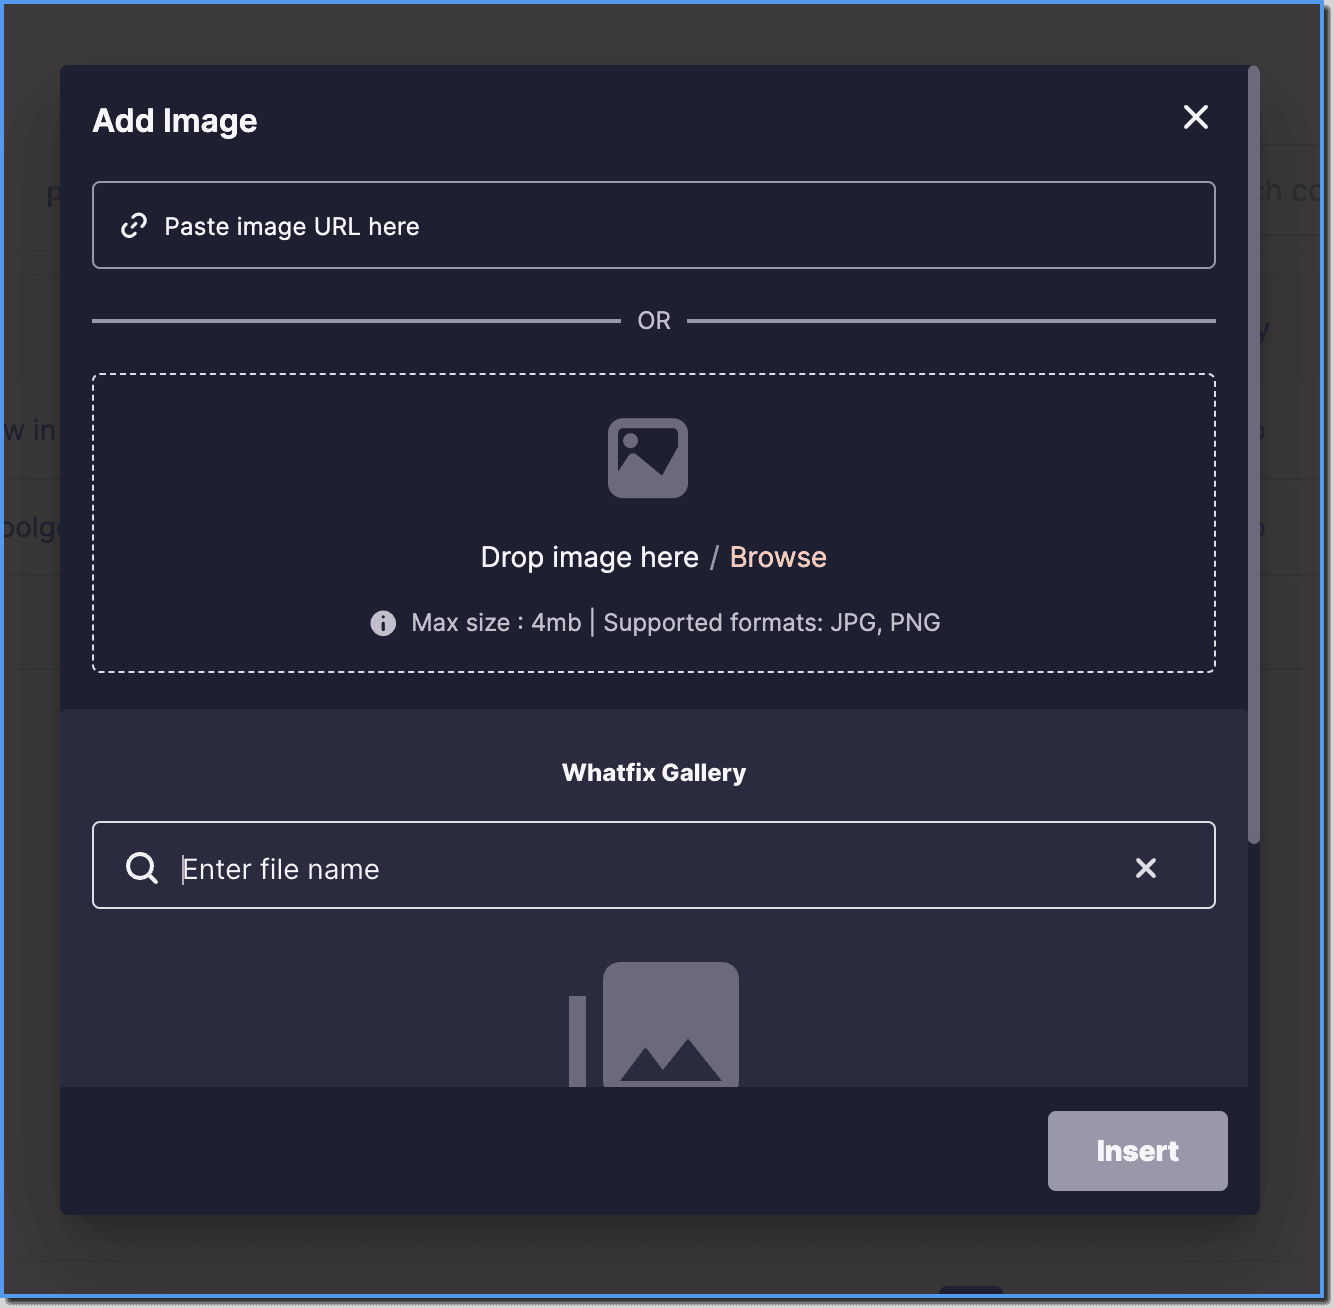
- The image URL must contain https if the Pop-up is displayed on a secure webpage.
- Only .jpg, .gif, and .png image formats that are up to 4 MB in size are supported.
- Whatfix enables you to upload up to 100 images from your local drive for use in your Pop-ups. Once this limit is reached, you will see the error message. However, this limit can be increased by contacting support@whatfix.com.
Use the following steps to insert an image in a Pop-up using the Visual Editor:
-
Log in to the application where you want to create content, and then launch Whatfix Studio.
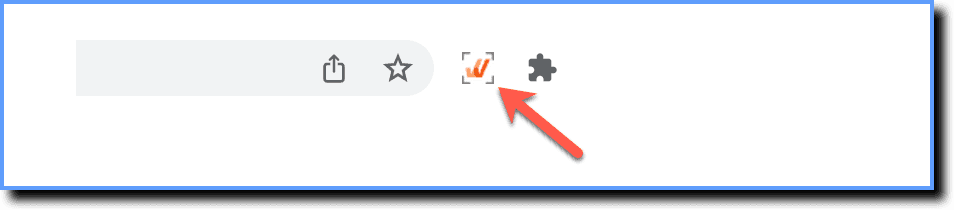
-
On the Whatfix Studio, click Popup.

-
Choose the color theme using the Theme dropdown.

Note:
Use custom color by entering the hex color code in the text box. 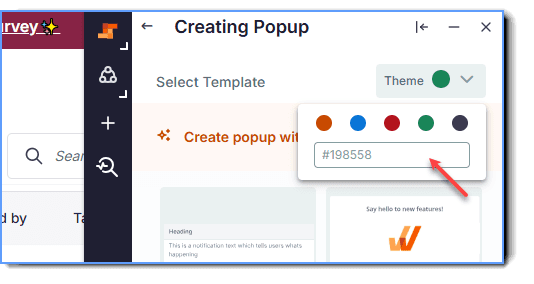
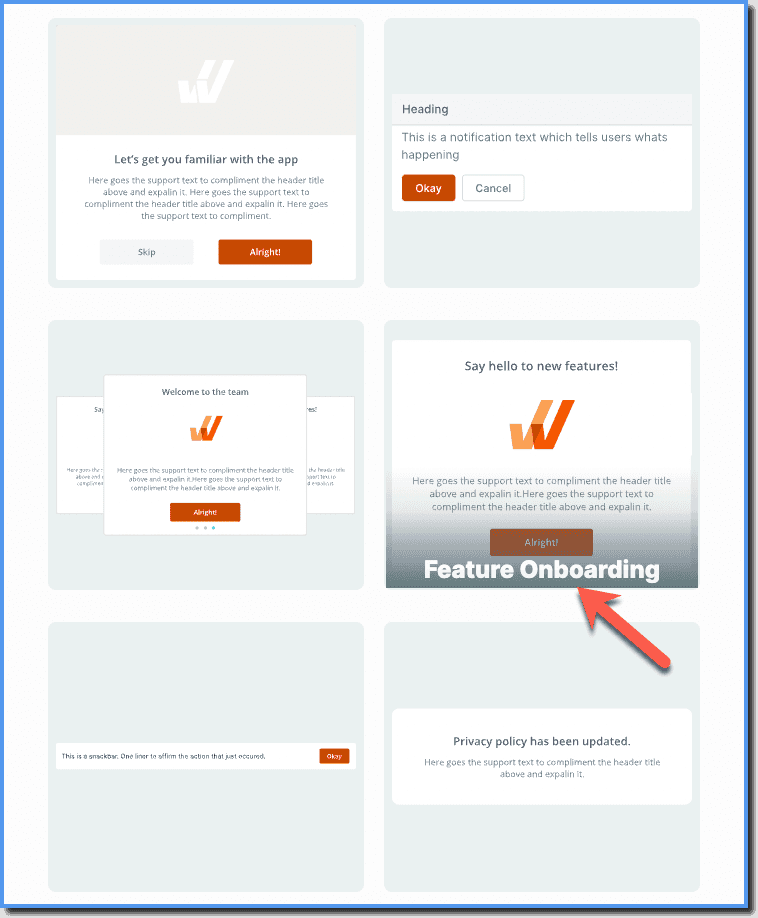
- Select one of the Pop-up templates, for example, Feature Onboarding.
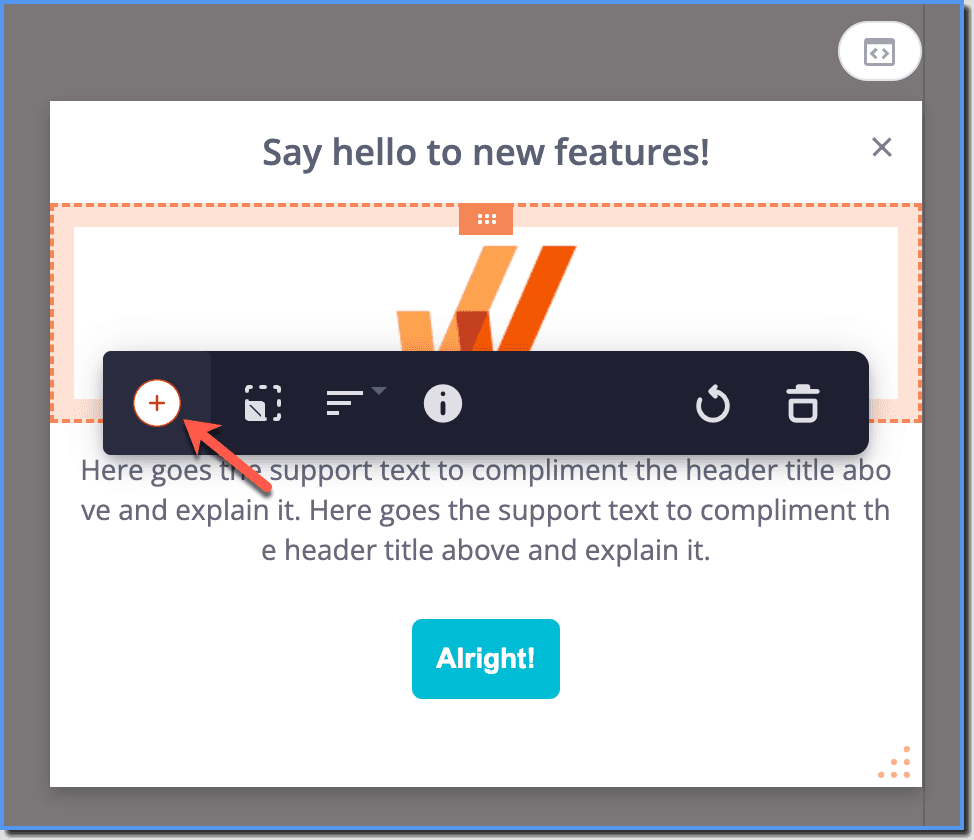
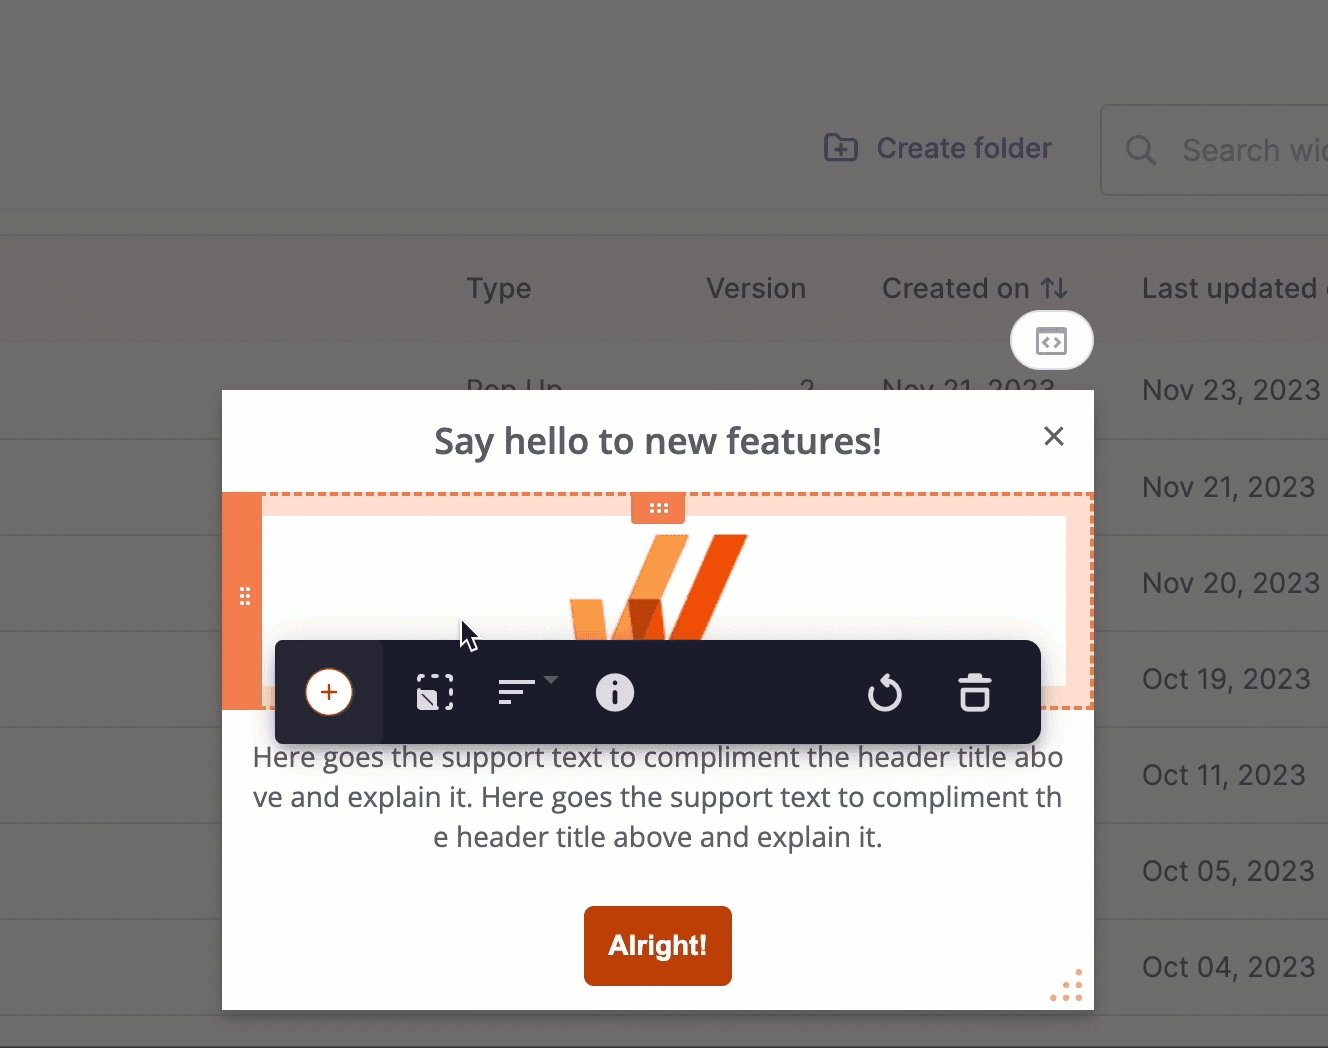
- Click the image placeholder to open the Image Froala Toolbar.
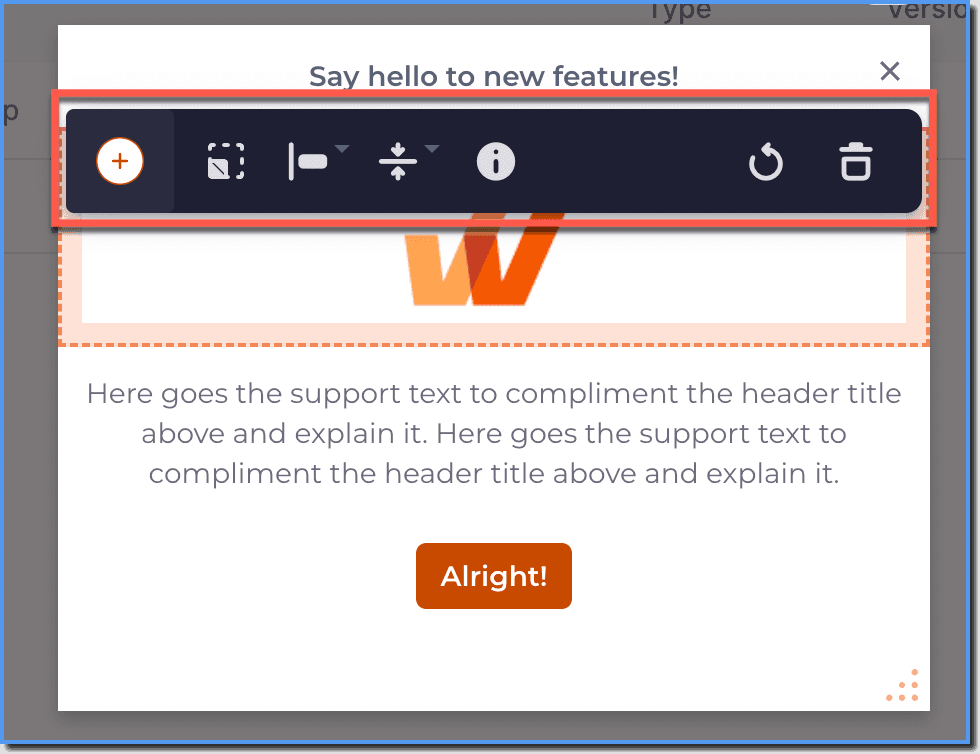
- Click the + icon.
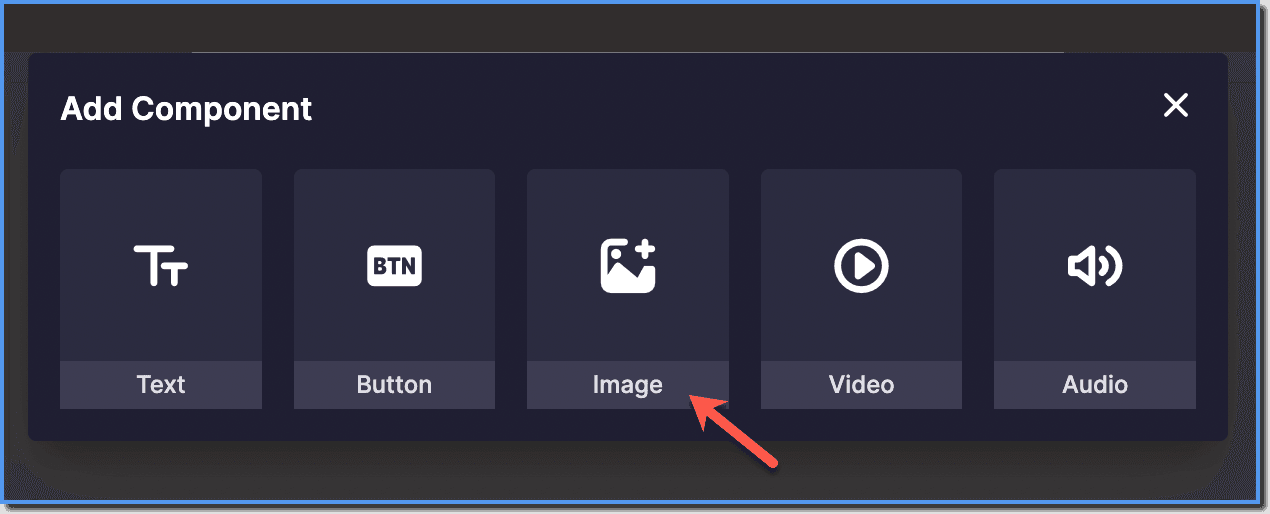
- On the Add Component dialog box, click Image.
- Paste the embed URL of the image you want to insert or upload an image from your local drive or Whatfix Gallery.
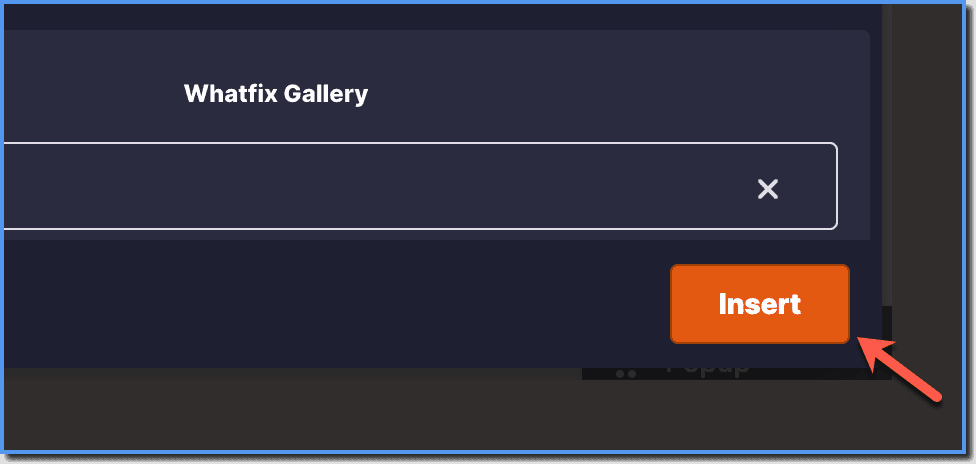
- Click Insert.
- The image gets added in the Pop-up.
Note:
Once the image gets added, make the following changes using the Image Froala Toolbar :
- Resize the image height using the Resize options icon.
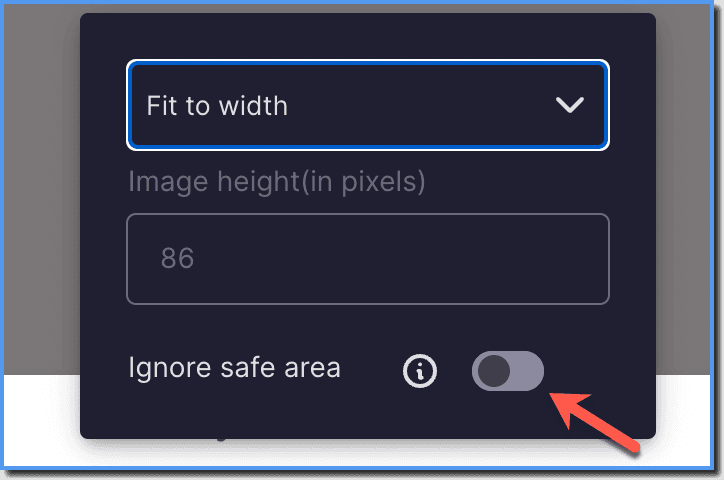
- Enable the Ignore safe area toggle to extend the image beyond the safe area boundaries.
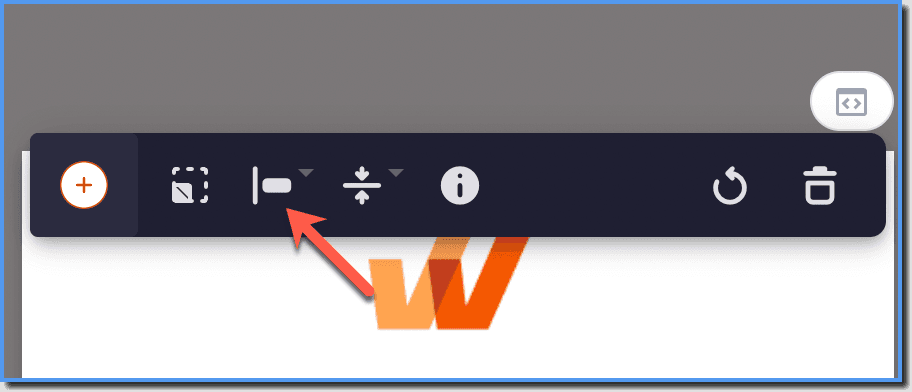
- Use the Align icon to align the image to left, right, or center.
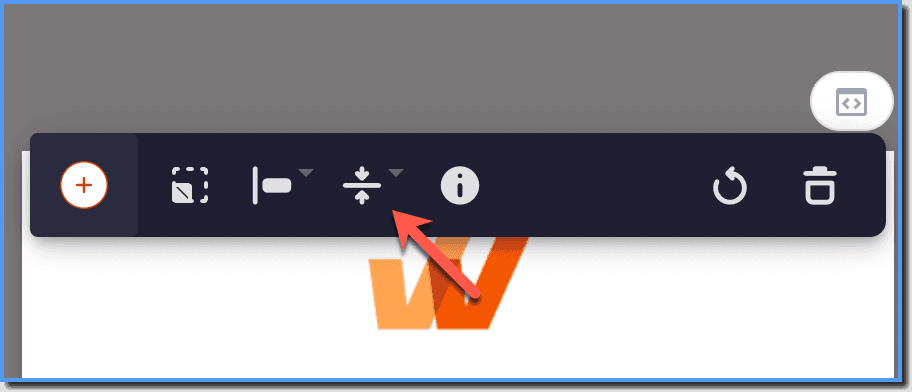
- Use the Vertical Align icon to align the image vertically.
- Use the Alternative Text icon to provide a textual description of the image content.
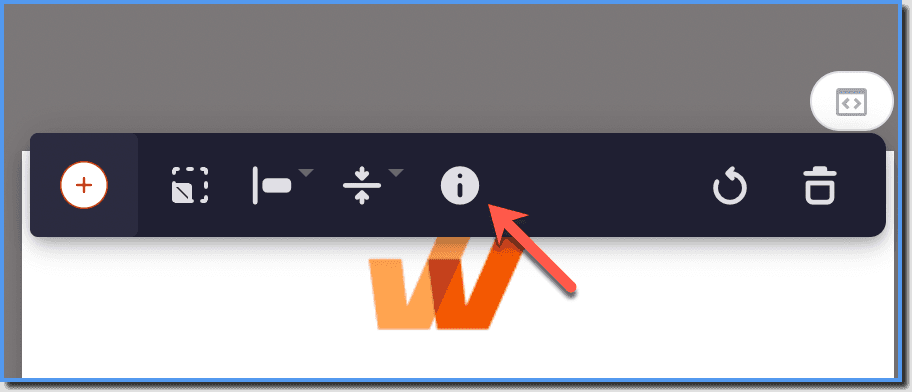
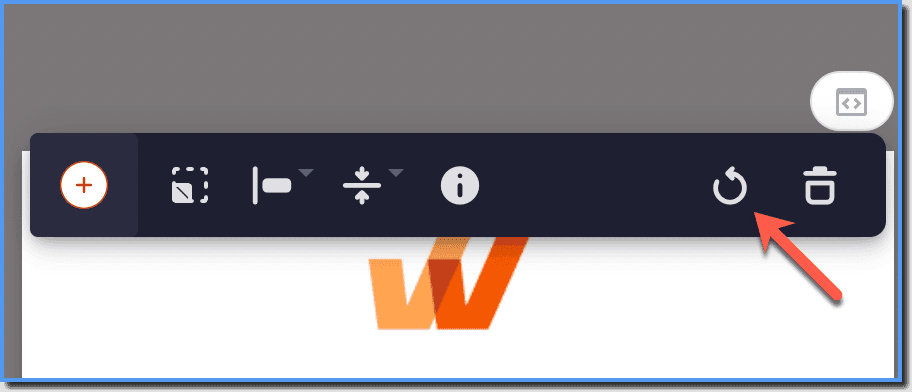
- Use the Replace Image icon to replace the existing image.
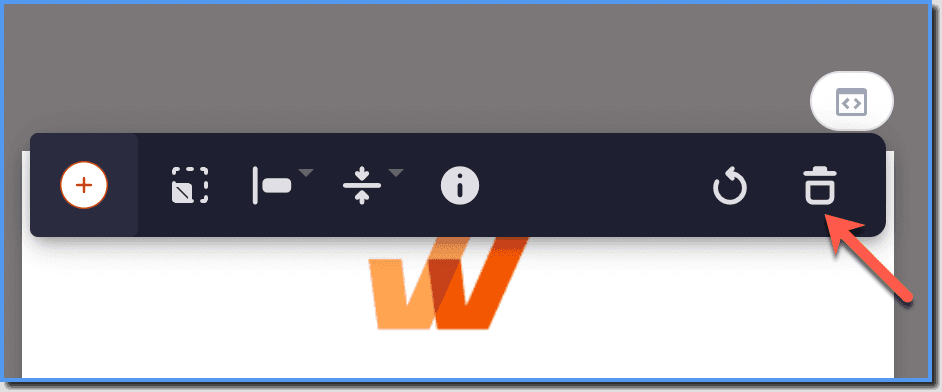
- Use the Remove Component icon to delete the image.
your title goes here
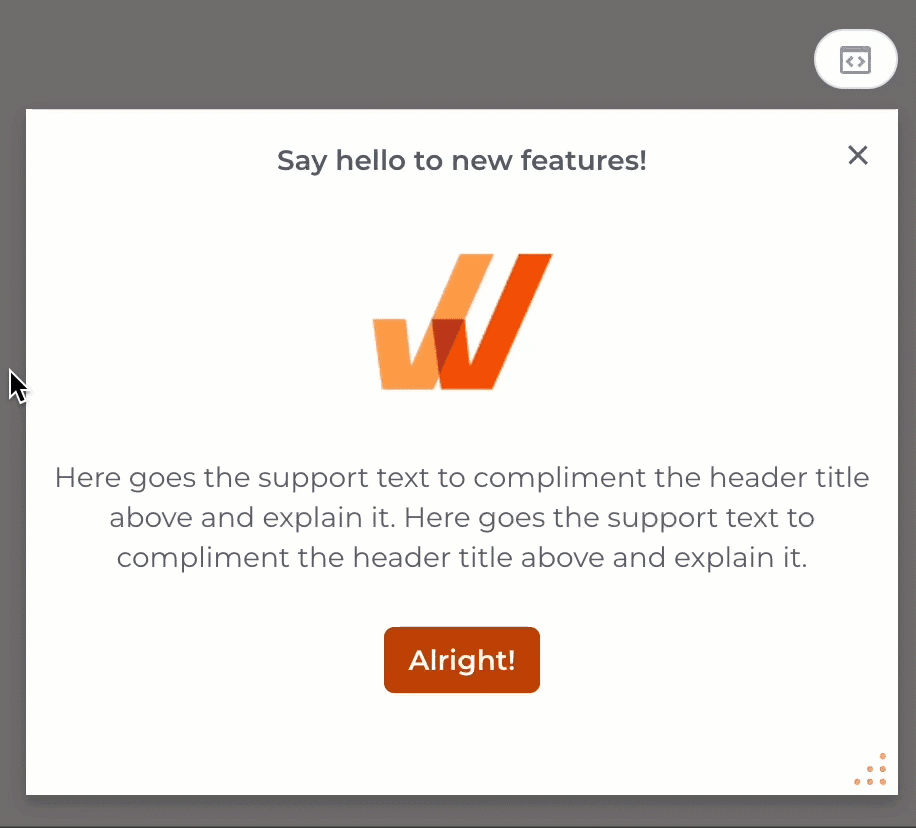
- Use the Drag and Drop feature to move or re-position the image around the Pop-up.
- Using the Drag Handlers, the image can be moved or re-positioned both vertically (column-wise) and horizontally (row-wise).
your title goes here
When you make changes to the Pop-up using the Drag Handlers, you may not be able to undo certain changes. In that case, you may need to re-create the Pop-up. For more information, see Can I undo the changes made with the Drag Handlers?
- Finish creating the Pop-up and click Save Popup.
your title goes here
Insert or edit an image in a Pop-up template after creating it, using the Edit icon on the Dashboard. 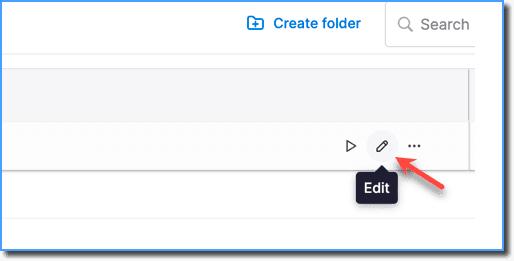
Drag Handlers are used to move or reposition the component within the Pop-up.