SharePoint Integration
SharePoint Subsite Integration Process
Whatfix SharePoint Subsite integration enables you to fetch and display articles stored in your SharePoint subsite as contextual links within the Self Help widget. Integrate specific SharePoint subsites, and choose to fetch all content or restrict it to specific folders or lists.
Use the following steps to integrate a SharePoint Subsite Repository:
Step 1: Approve the Whatfix Azure App
Step 2: Add the Approved App to the SharePoint Subsite
Step 3: Integrate the Subsite Repository in Whatfix
Step 1: Approve the Whatfix Azure App
Before initiating the integration from the Whatfix Dashboard, you must approve the Whatfix Azure App to establish a connection between your Azure tenant and Whatfix.
- Go to the following authentication link and log in using your Microsoft Azure credentials.
Once you log in, you see an Azure App request for an application named Whatfix SharePoint Selective Site.
- Click Accept to approve the application.
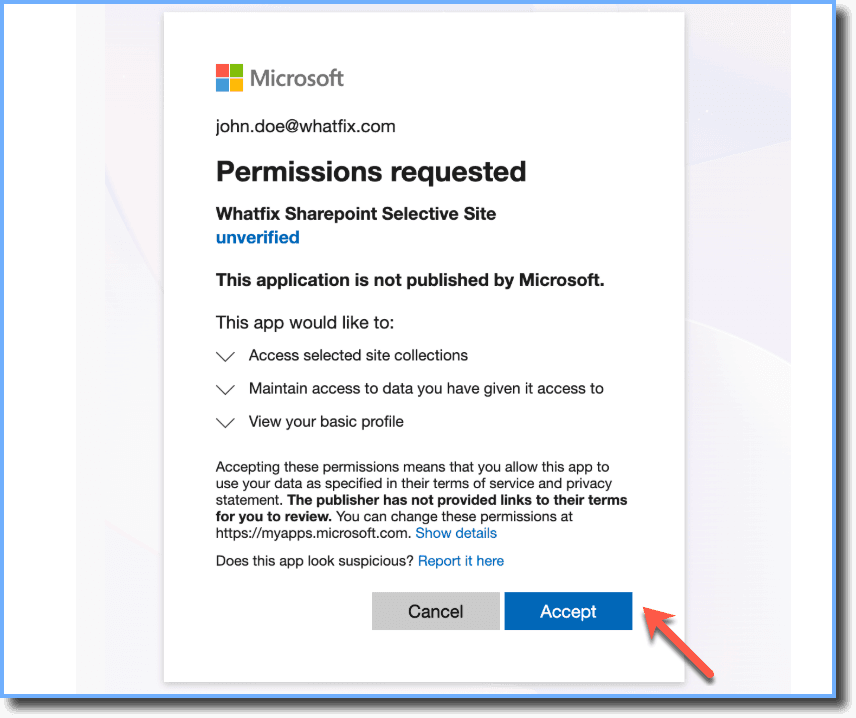
- If you don’t see the Accept option, contact your Azure Global Admin to perform the approval. Only Global Admins can approve apps for your organization.
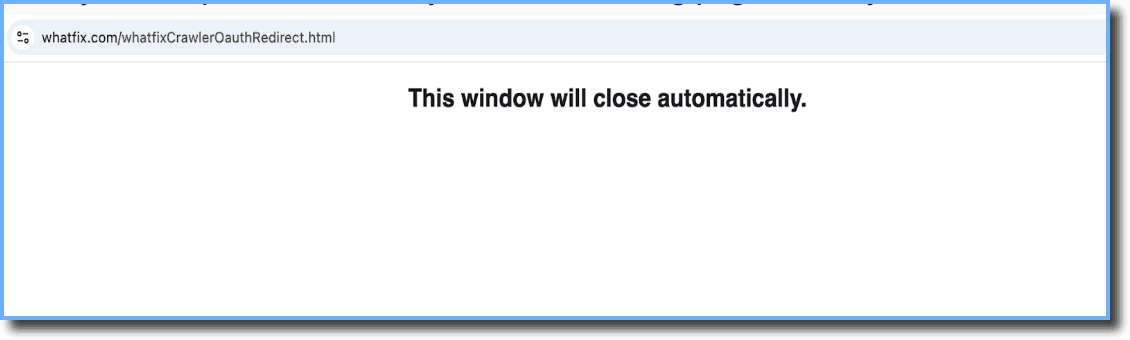
- Close the confirmation page after the approval is complete.
Step 2: Add the Approved Whatfix Azure App to the SharePoint Subsite
Once the Whatfix Azure app (Whatfix SharePoint Selective Site) with the App ID 79dade04-ed40-4b01-9a65-70caf1476aca is approved, you must add it to the SharePoint subsite.
- Refer to Microsoft’s documentation on understanding RSC for Microsoft Graph and SharePoint online to ensure Whatfix can access and crawl the subsite’s data.
- You might need assistance from your IT team that manages Azure within your organization to complete this step.
- Without adding the app to the subsite, Whatfix cannot fetch or display the content.
Step 3: Integrate the Subsite Repository in Whatfix
Use the following steps to integrate the Subsite repository in Whatfix:
-
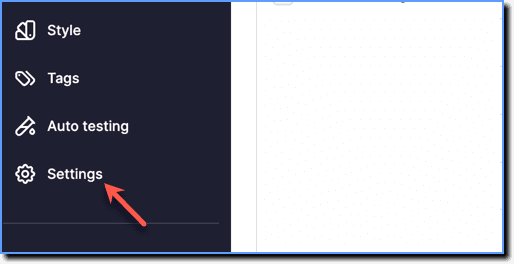
On the Whatfix Guidance dashboard, click Settings.
-
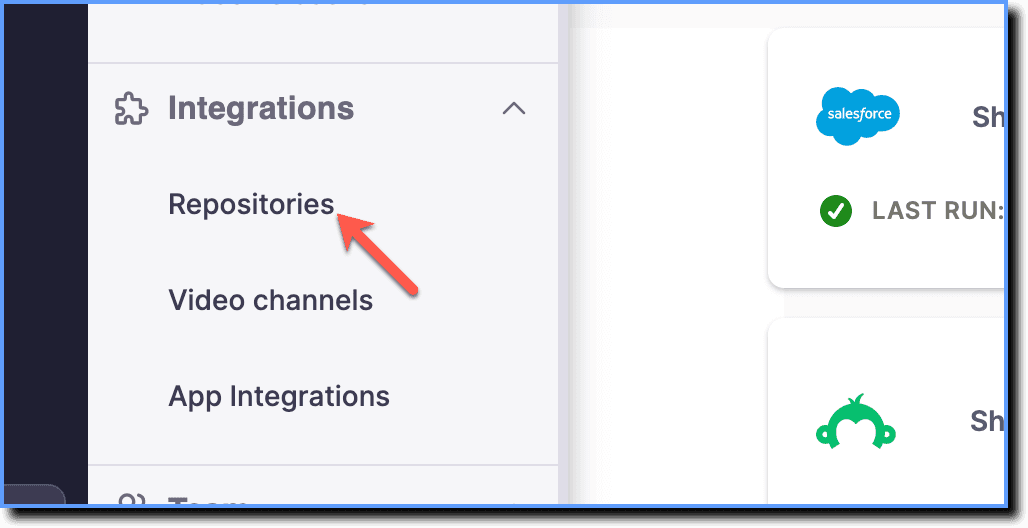
Click Repositories.
-
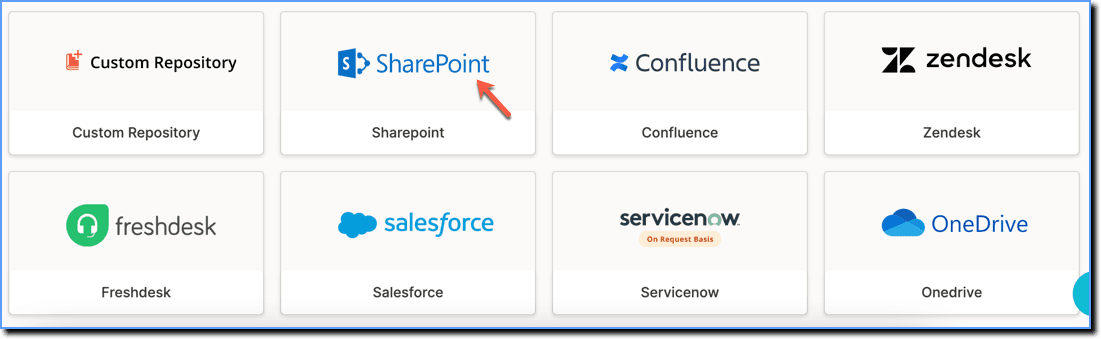
Click the SharePoint tile.
-
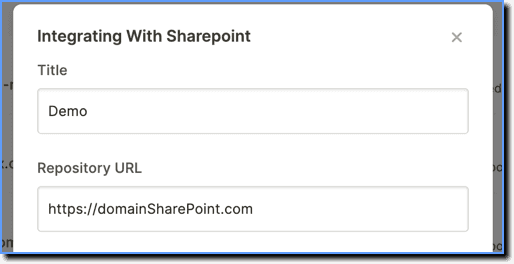
Enter a Title and the Repository URL of your SharePoint site that you want to integrate.
-
The title you provide is used as the tag name for the default tag attached to all content fetched.
-
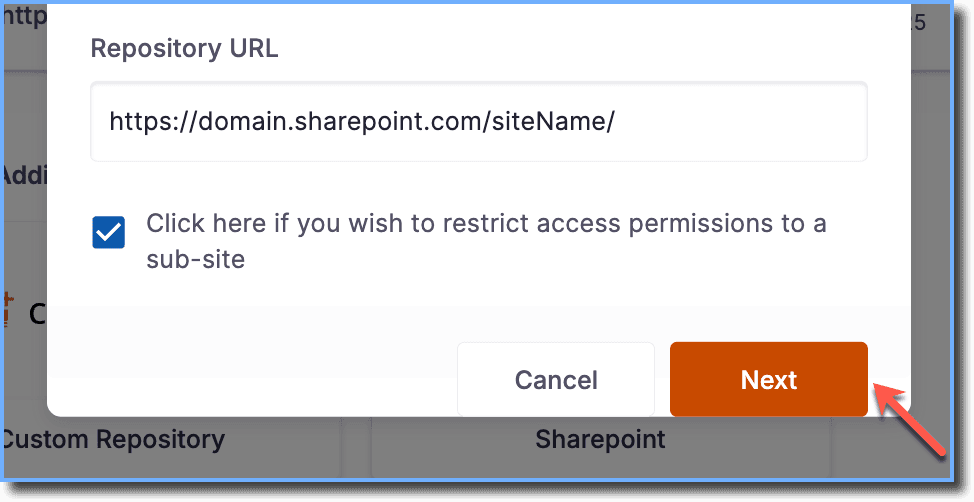
If you are integrating a subsite, use the following example:
https://domain.sharepoint.com/siteName/.
- Select the Click here if you wish to restrict access permissions to a sub-site checkbox.

- Click Next.
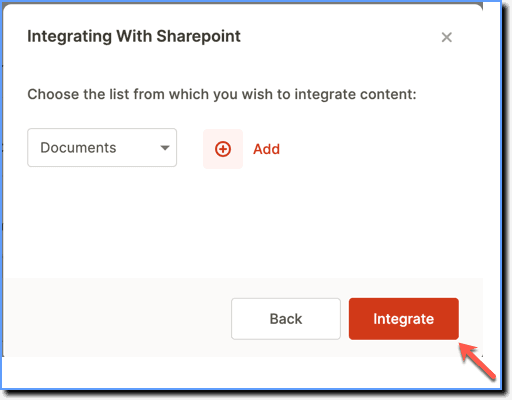
- Select the type of SharePoint content (Article, Document, or Site Page) that you want to fetch from the repository and then click Add.

- Based on the content type you select, enter the necessary details in the fields that appear.
- Article: List Name
- Documents: List Name, Library Name, Folder Absolute Path (optional)
- Site Page: Page Library Name
For more information on how to generate this information in your SharePoint application, see Generate information for SharePoint integration.
- Click Integrate.
- Once the SharePoint login page loads, enter your credentials and then click Log In.
- After you create an Integration request, Whatfix lists your Repository under Integrated Repositories in the Scheduled state.

- Once all the content is indexed, access it on the Whatfix Dashboard.

- The content fetched can be added to the Self Help widget in the same way as any other Whatfix Content. For more information, see Add Repository Content to Self Help and Task List.
- If Smart Context enabled, you must add the global-page tag for the content to appear in the Self Help widget on your application.
- If you click Cancel or close the integration pop-up, the integration request is Saved as draft in the Integrated Repositories section.

- The Repository links are available in the Ready stage once the Repository is crawled into Whatfix.
- You cannot move the links to the Draft stage or edit them. In the Ready stage, you can only edit tags and search keywords.
- Once you push the Repository links to the Production stage, you cannot move them back to the Ready or Draft stages like the other Whatfix content and widgets.
- Unlike other content and widgets that you can tag in the Draft stage, you can tag the Repository links only in the Ready stage.
- If you face any issues while integrating your Repository, contact support@whatfix.com.
The Whatfix Dashboard is where you can perform the following actions:
- Access all content that has been created by users in your organization.
- Access and manage content widgets like Self Help, Pop-ups, Smart tips, Beacons, and Task List
- Manage users
- Manage tags
- Access Analytics
- Manage translations
- Manage Tip or Flow configurations
Whatfix Content includes Flows, Images, Videos, PDFs, Articles and Links.
The Task List is a widget that gives you the ability to assign a list of topics/tasks users must complete as part of a training program.