Pop-ups
Configure Button Actions in a Pop-up
Add buttons to a Pop-up to help users take the next step, such as starting a Flow or opening a web page. Each button performs one action when users click it.
Button Actions
The following table lists the button actions available in a Pop-up and their behavior:
| Button Action | Behavior |
|---|---|
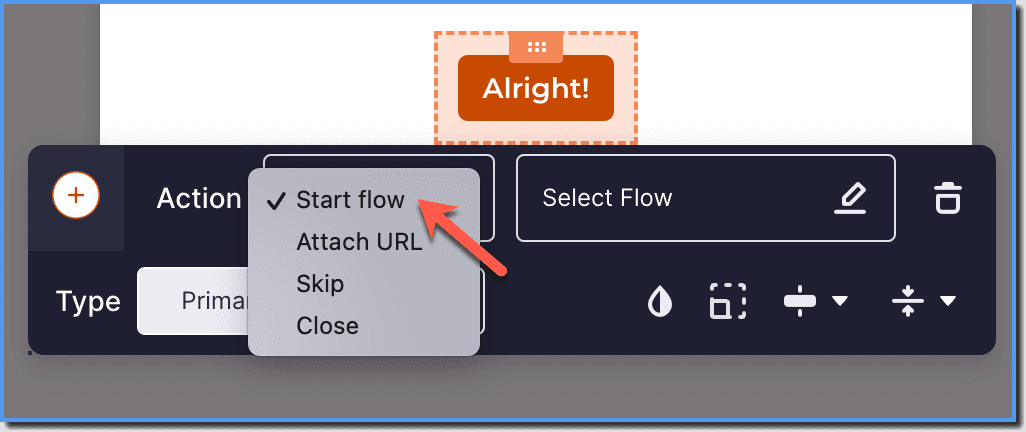
| Start Flow | When the user clicks this button, they are taken to a Whatfix Flow that is attached to the button. |
| Attach URL | When the user clicks this button, they are taken to the URL that is attached to the button. |
| Skip | When the user clicks this button, the particular Pop-up is omitted and they continue to see the Pop-up until they click the Close or Don't show me again button. |
| Close | When the user clicks this button, they close that particular Pop-up. |
Additionally, make the following changes in the button configuration menu:
- Change the button Type to Primary Button or Secondary Button.
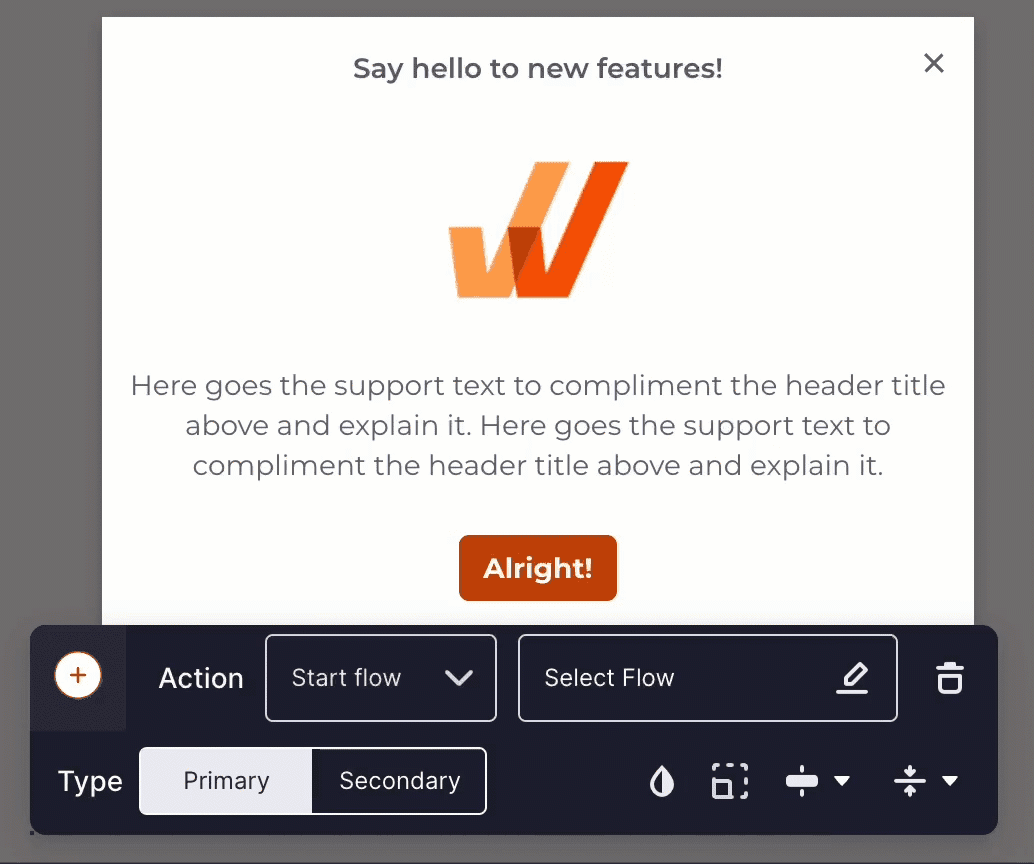
- Click the Button Style icon to change the Color, Hover color, and Corner radius of the button.
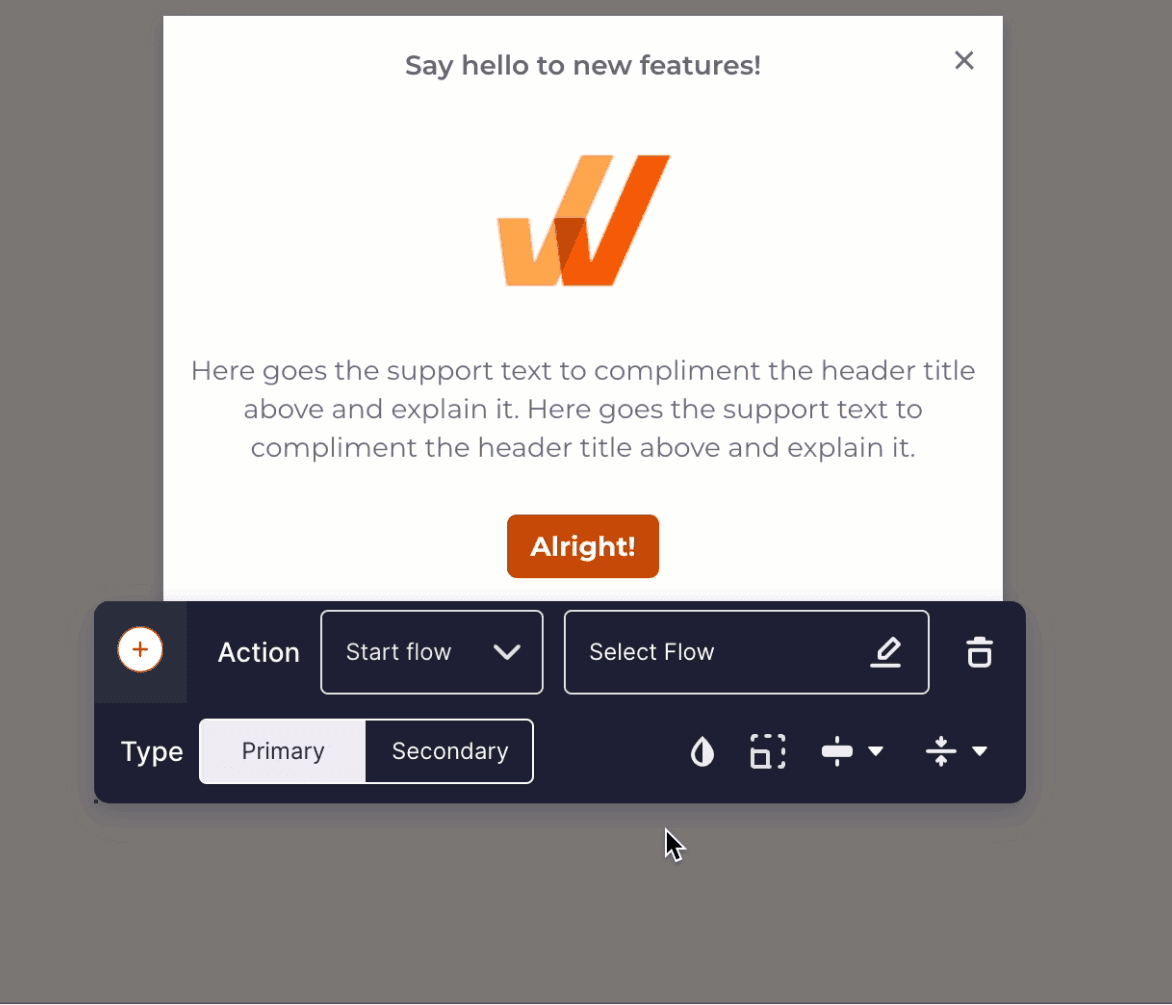
- Click the Button Resize icon to resize the button.
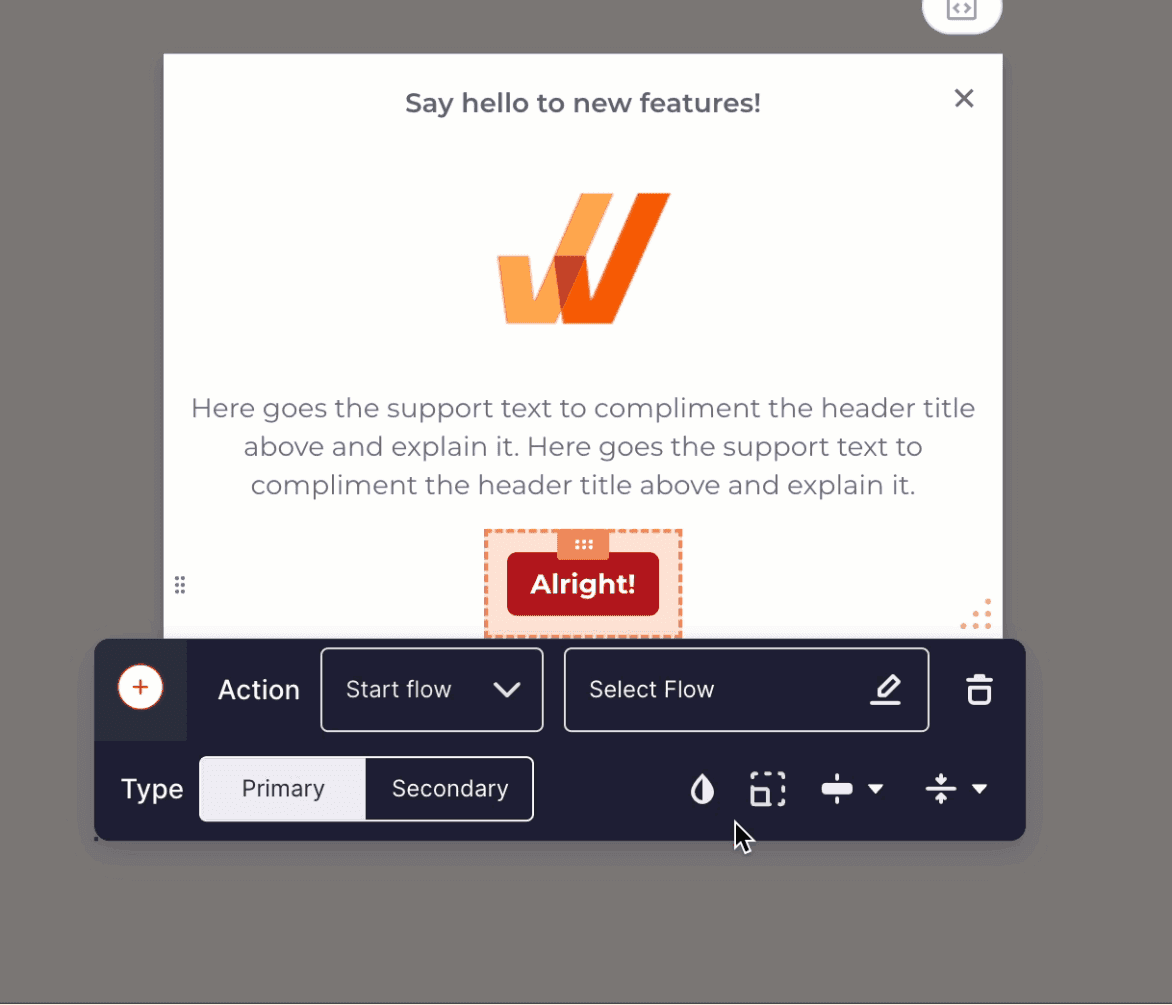
- Click the Horizontal Align icon to align the button horizontally.
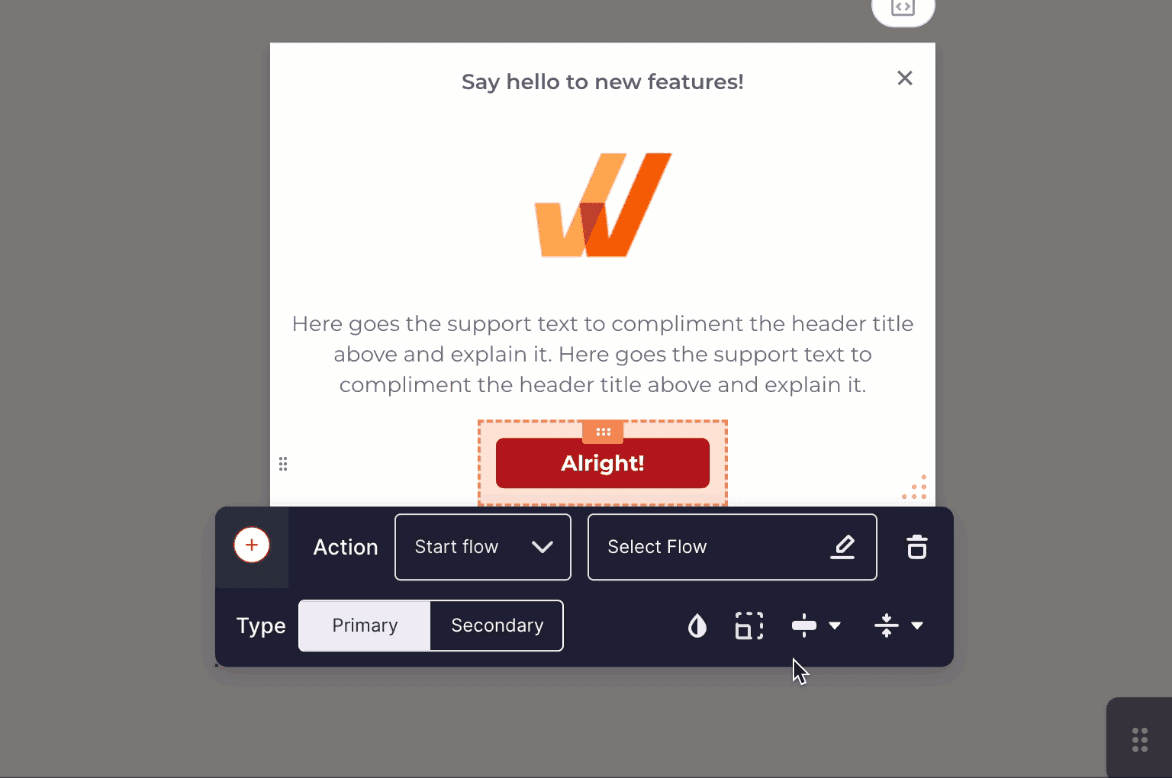
- Click the Vertical Align icon to align the button vertically.
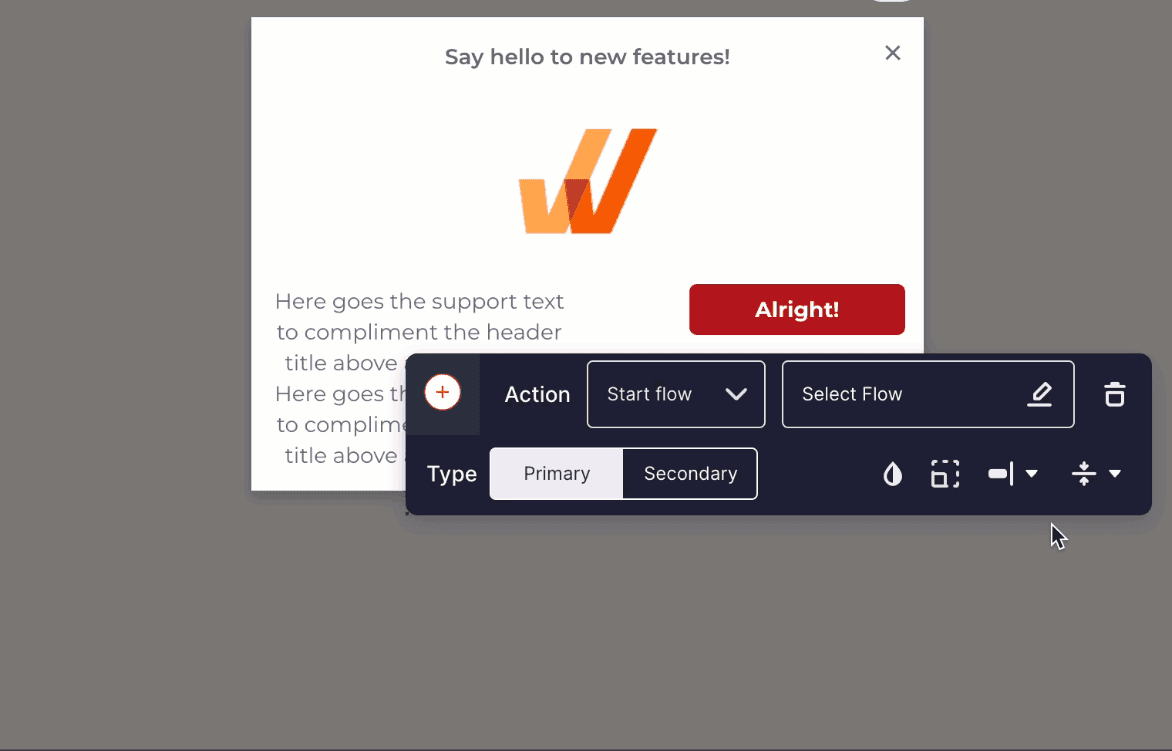
Configure Button Actions
Expand the following accordions for more details:
Trigger a Flow from a Pop-up
A Pop-up can Trigger a Flow to inform your users about a new feature and then guide them through each step of the workflow.
- Ensure that you've created the necessary Flow before creating the Pop-up.
- If your end user completes the Flow till the end, then the Pop-up does not appear again irrespective of the occurrence count set.
- If the end user doesn't complete the Flow, the Pop-up appears as per the configured occurrence count.
Use the following steps to attach a flow to a Pop-up using the Visual Editor:
- Hover your cursor over the button and click to open the Button configuration menu.
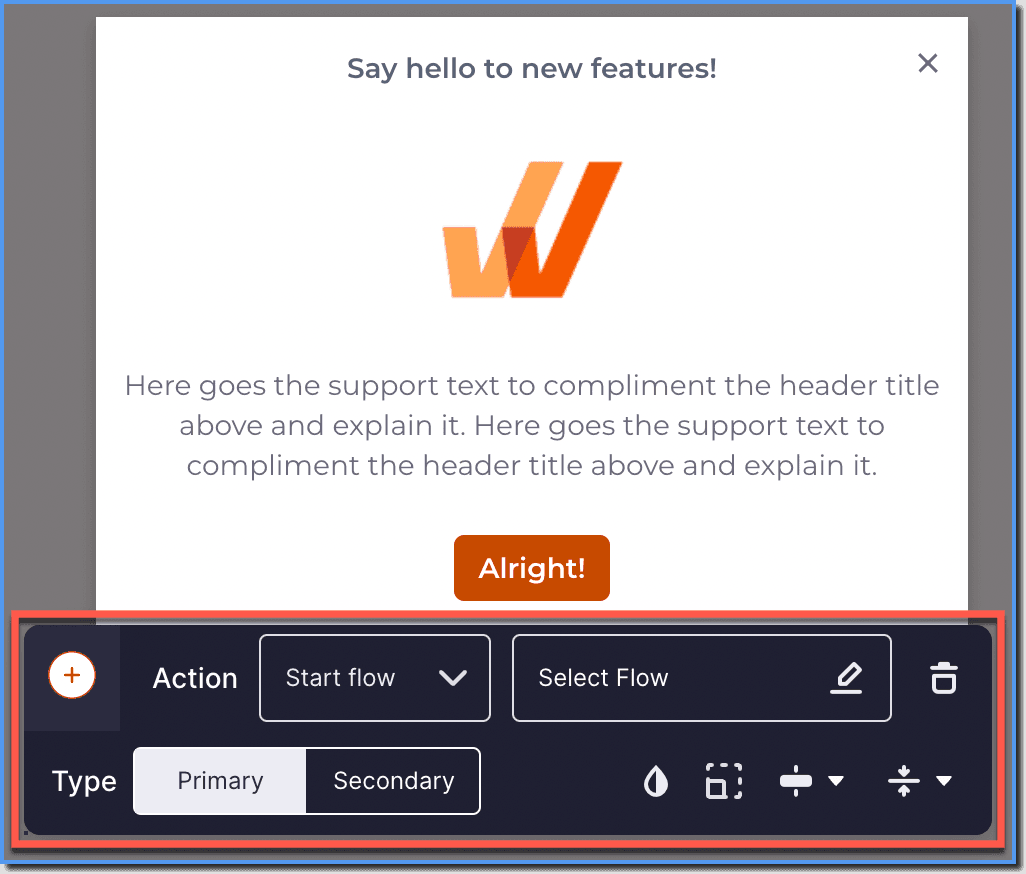
- Next to Action, select Start flow option from the dropdown.
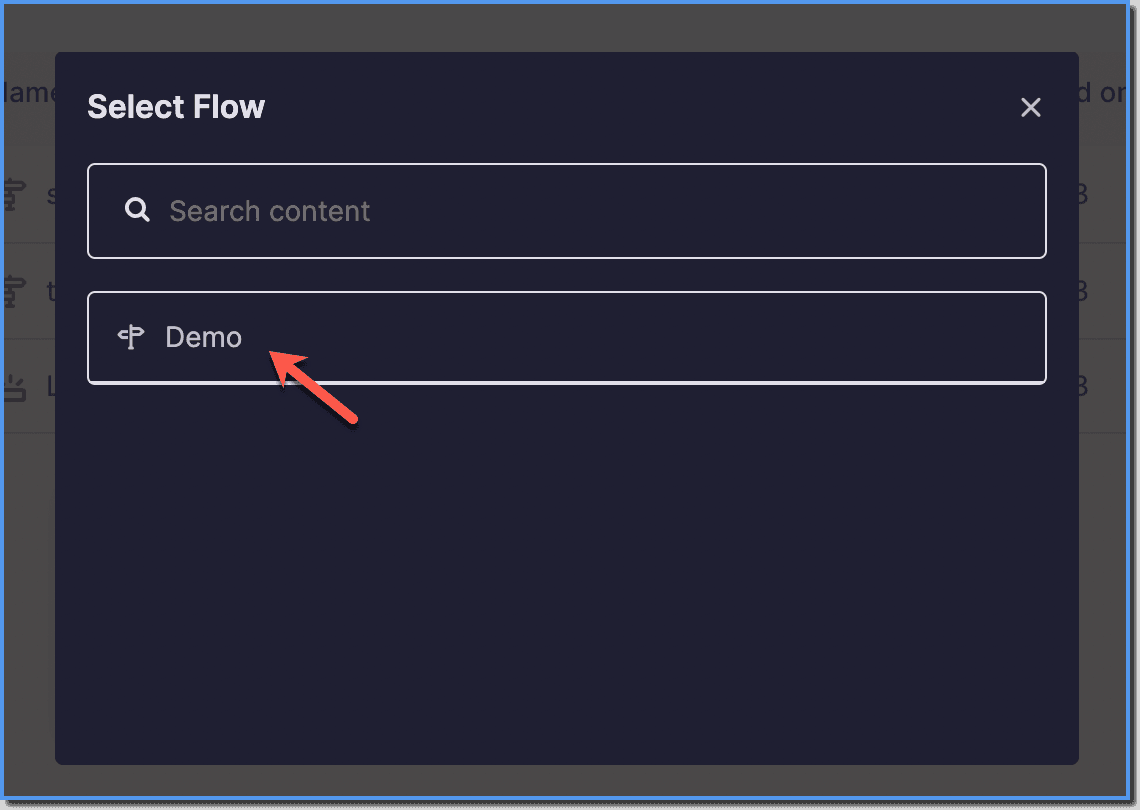
- Click the icon next to Select Flow.
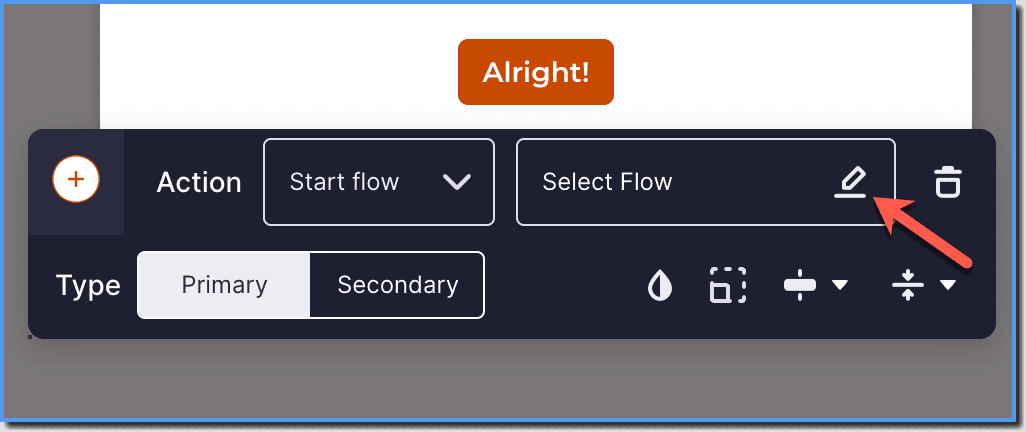
- Select the Flow from the list.
Attach a URL to a Pop-up
A Pop-up triggers URLs to open links, articles, survey forms, registration forms, and more.
Use the following steps to attach a URL to a Pop-up using the Whatfix Dashboard:
- Hover your cursor over the button and click to open the button configuration menu.
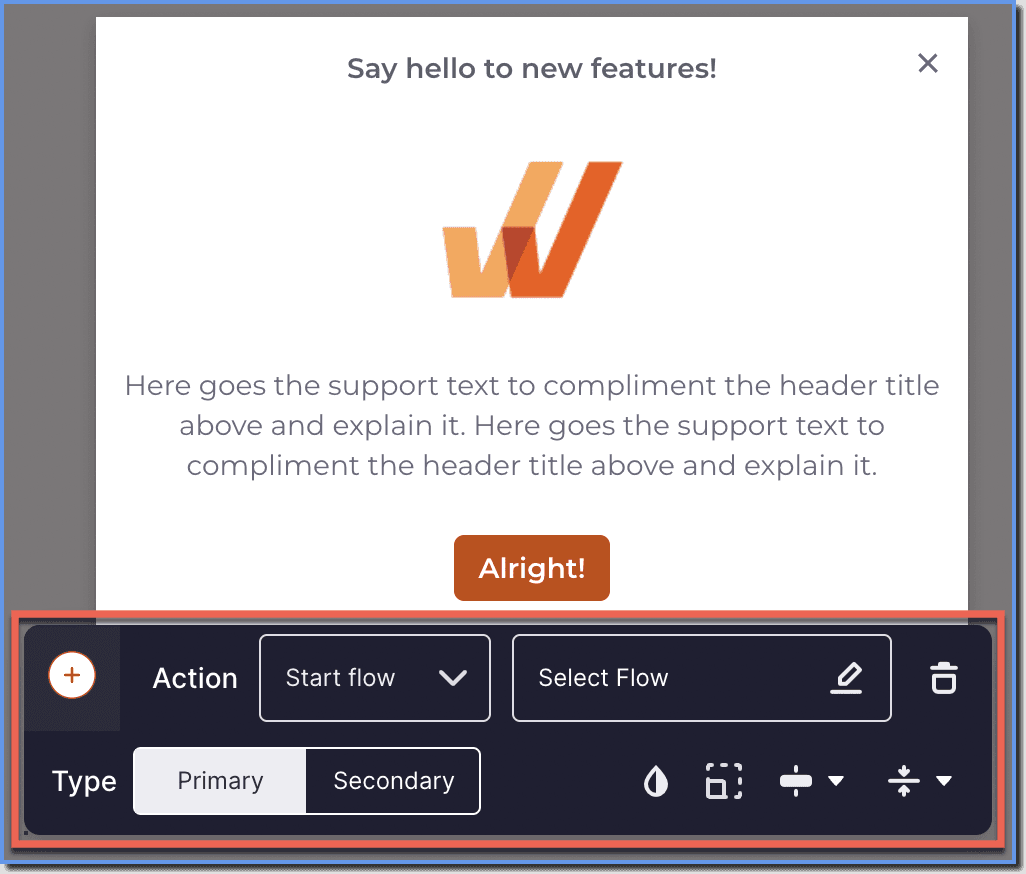
- Next to Action, select the Attach URL option from the dropdown menu.
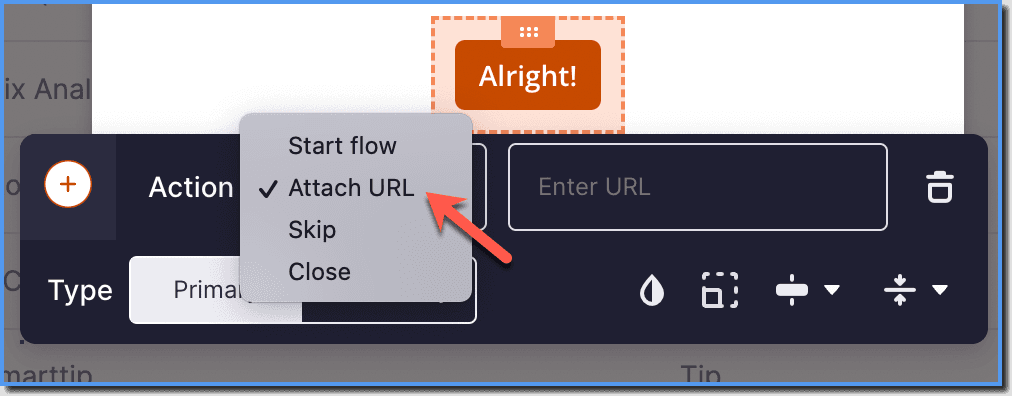
- Paste the copied URL into the Enter URL field.
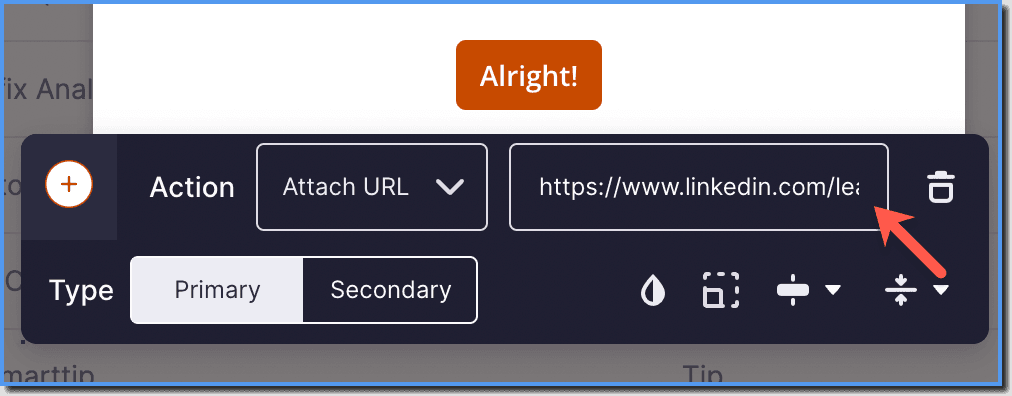
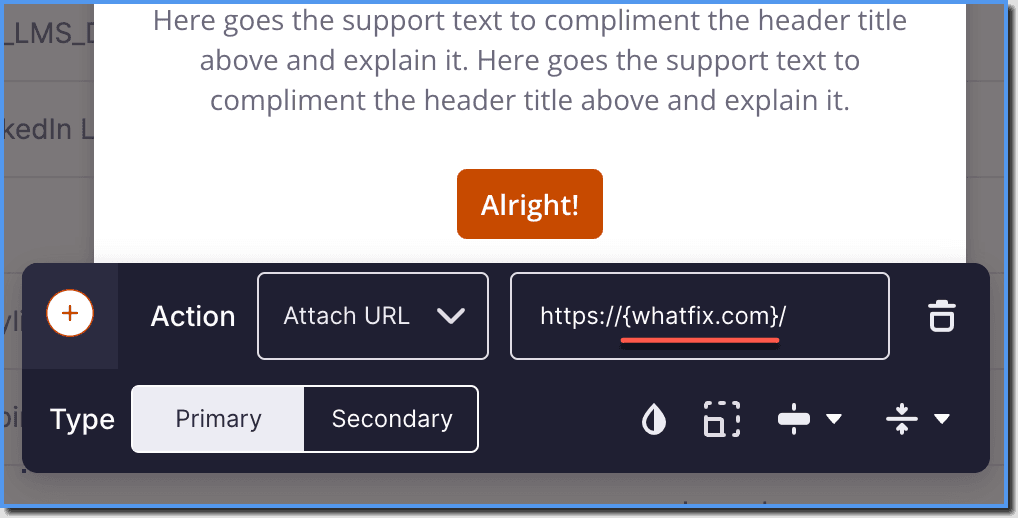
- Use a dynamic URL to keep the button's URL valid when part of the domain changes, such as the subdomain or environment.
- A dynamic URL adjusts automatically, so the same link works on both https://dev.example.com and https://example.com.
- To create a dynamic URL, wrap the dynamic part of the URL in curly braces when you enter it in the Enter URL field, as shown in the following image:
The primary button is associated with a positive user action based on the Pop-up's contents. For example, trigger a flow or open a URL.
The Secondary Button is used to close or dismiss the Pop-up without triggering any specific action.