User Segments
Create a User Segment
User Segments enable you to group users and deliver contextual in-app experiences. These segments can be easily created by defining the appropriate rules using User Properties. For example, show a Pop-up only to users who installed the app 30 days ago.
The advantage of using segments is that they are reusable across any number of campaigns, and are updated automatically over a period of time as users interact with your app.
Whatfix provides you predefined user segments which can be added to your content. 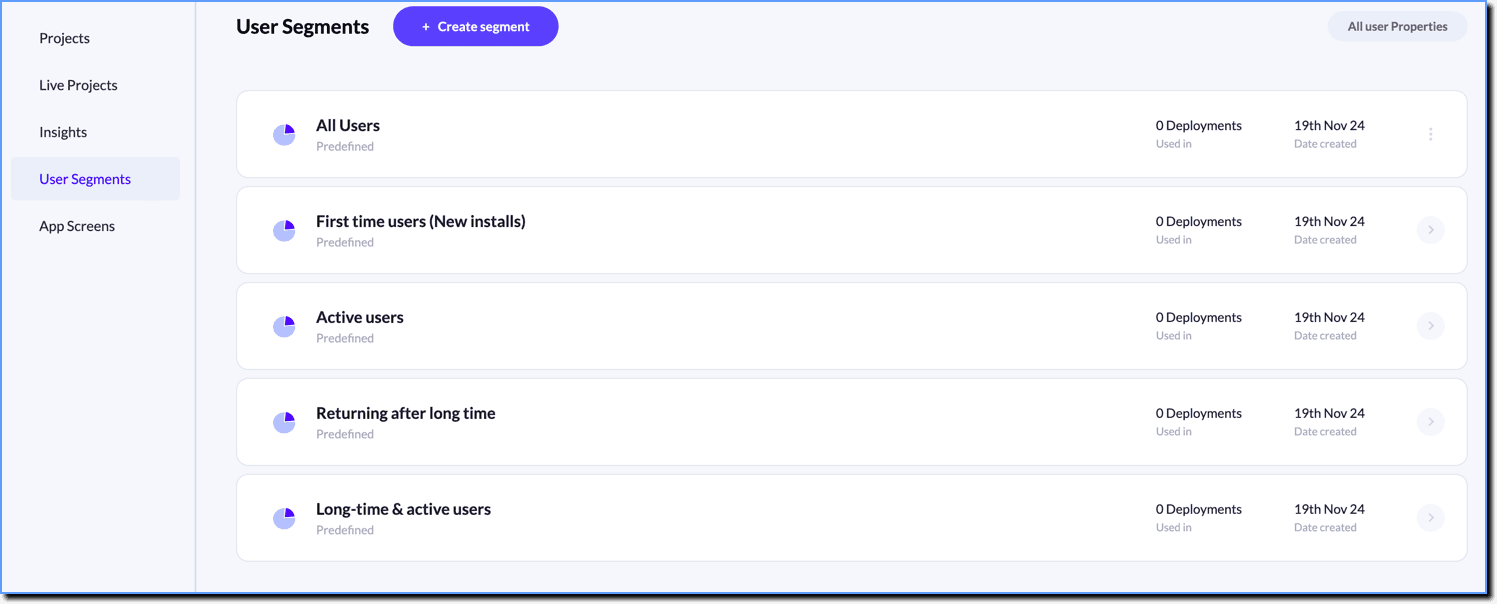
Create your own user segments, and then add them to your content.
The following are the two ways to create a User Segment:
Use the Whatfix Mobile Dashboard to create a User Segment
Use the following steps to create a User Segment from your Dashboard:
-
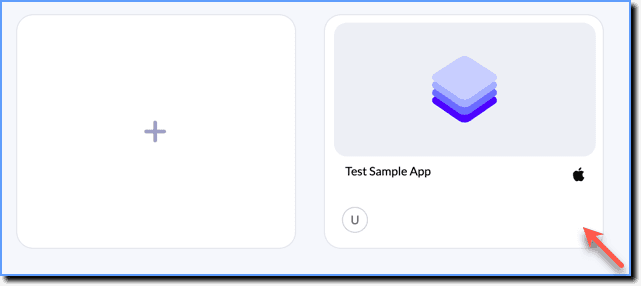
On the Whatfix Mobile Dashboard, select an app.
-
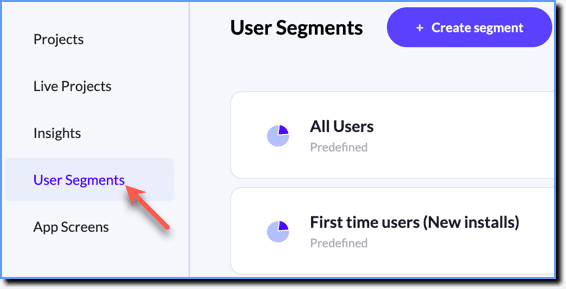
In the navigation panel, click User Segments.
-
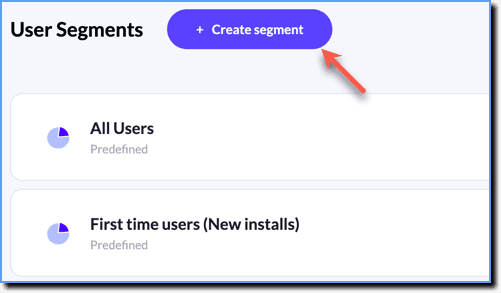
Click + Create Segment.
-
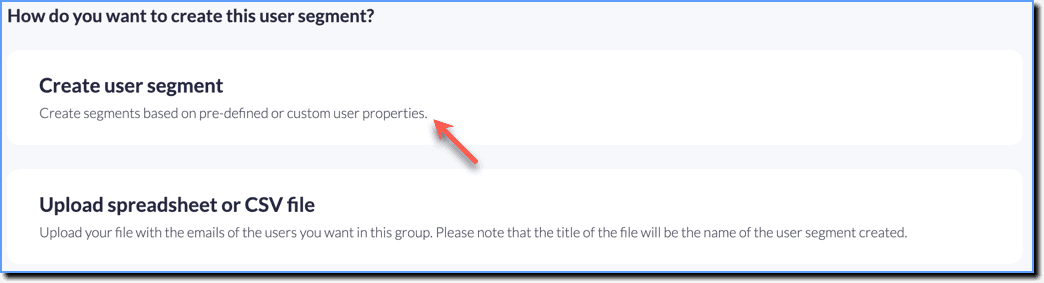
Click Create user segment.
-
Enter a name for the User Segment.

-
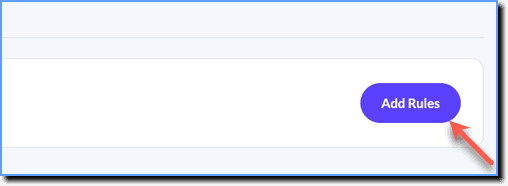
Click Add Rules.
-
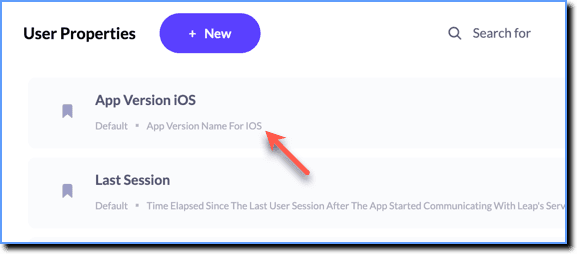
Choose the required User Properties from the default properties.
your title goes here
For more information on default and custom user properties, see What is a User Property?.
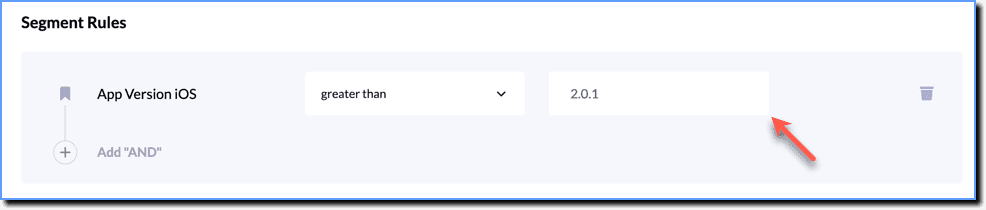
- Choose a condition and add a value as required.
your title goes here
Ensure that you enter the correct value type for the user property to work.
- Click Create Segment.
your title goes here
To create a User Segment using custom properties, see Create a User Segment using custom properties
Upload a Spreadsheet or CSV file to create a User Segment
The CSV Upload feature enables content to be delivered to specific list of users specified in a CSV file. For instance, this can be used to do a Beta release to small set of users.
The following is how a sample CSV file containing a list of user IDs looks like in a text editor:
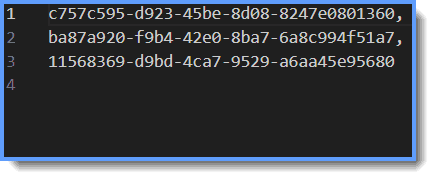
This CSV file can be used to deliver content to only the users with the listed User IDs.
your title goes here
- The CSV file's name should be less than 50 characters and free of whitespaces and trailing whitespaces.
- The values (User IDs) in the CSV file should be comma-delimited and without any spaces in between them. In case you generated the CSV by exporting data from a Database Management Service, verify that the CSV follows the required format by opening it in a text editor.
- Ensure that you add only User IDs in a single column without a header row. There shouldn't be any empty rows in the list of User IDs. * Upload up to 1000 User IDs to create a segment. If you upload a CSV with more than 1000 users, only the first 1000 in the list will be considered for creating that segment.
- The following is a sample CSV file containing User IDs:
Use the following steps to create a User Segment from a CSV file:
-
On the Whatfix Mobile Dashboard, select an app.
-
In the navigation panel, click User Segments.
-
Click + Create Segment.
-
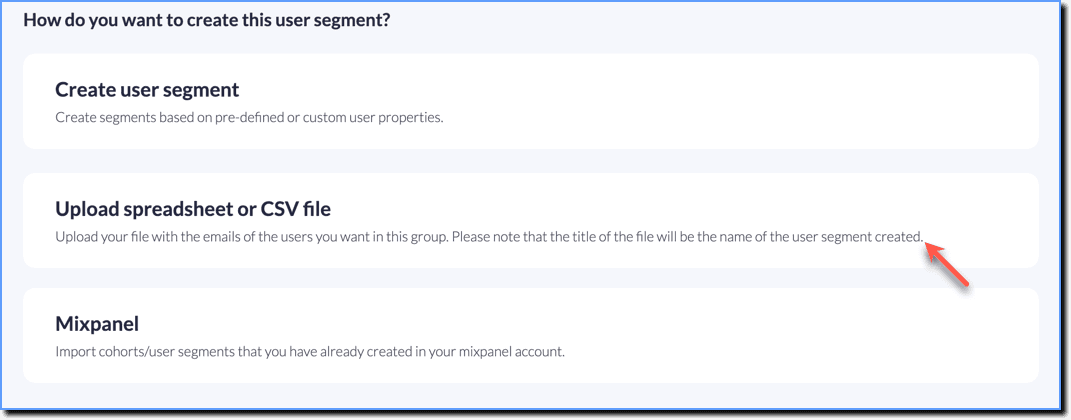
Click Upload spreadsheet or CSV file.
-
Enter a name for the User Segment.

-
Click Upload file.
-
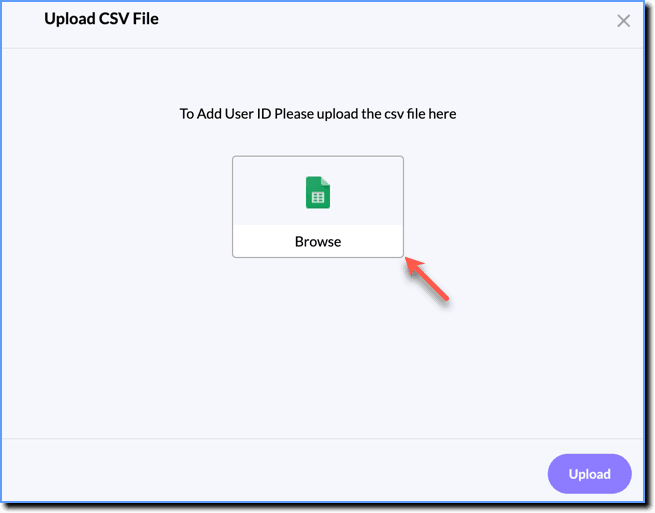
To select the csv file from your local drive or library, click Browse.
-
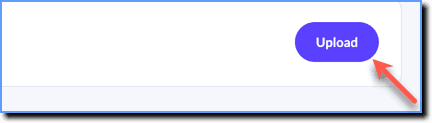
Click Upload.
your title goes here
To know how to use User Segments while publishing your content, see Publish projects directly.