Flows - Whatfix Desktop
Add or insert a step after Flow creation
Whenever there are changes to your application, you might not always need to recreate content. You can make incremental changes by simply inserting a new step to make the Flow up-to-date again.
Use the following steps to add a step to an existing Flow:
Note
You need to first launch the application (Example: Microsoft Teams) where you want to reselect the element and then use the following steps.
-
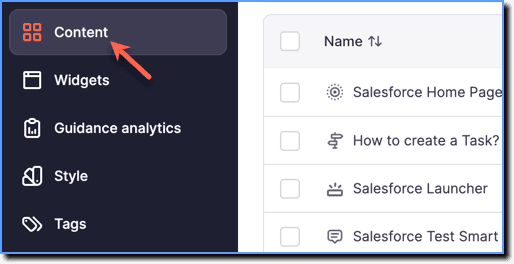
On the Whatfix Guidance dashboard, click Content.
-
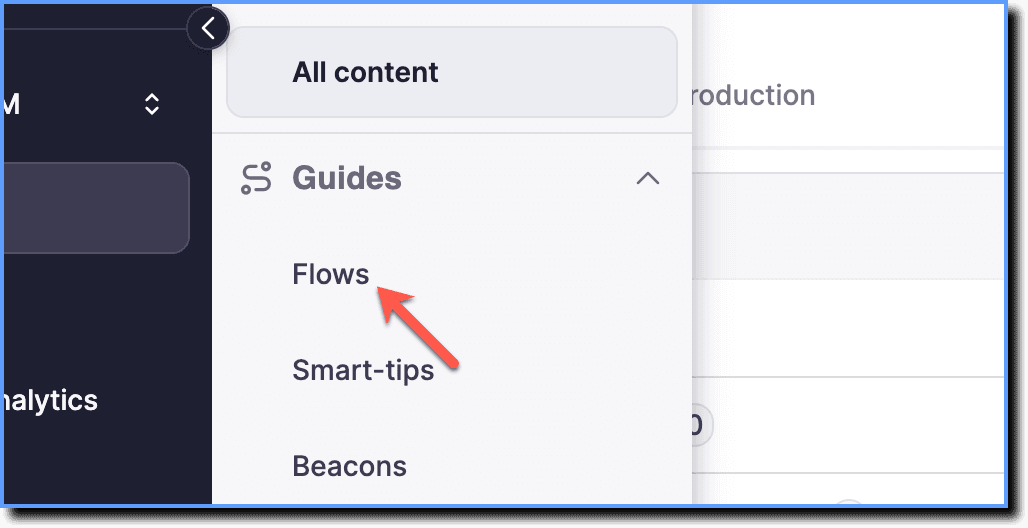
Click Flows.
-
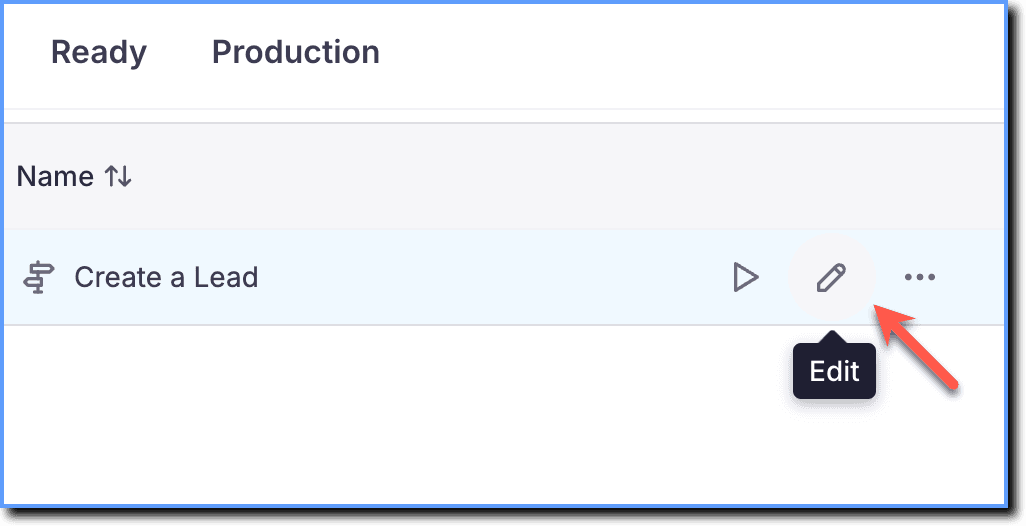
Hover your cursor over the Flow you want to update, and then click the Edit icon.
-
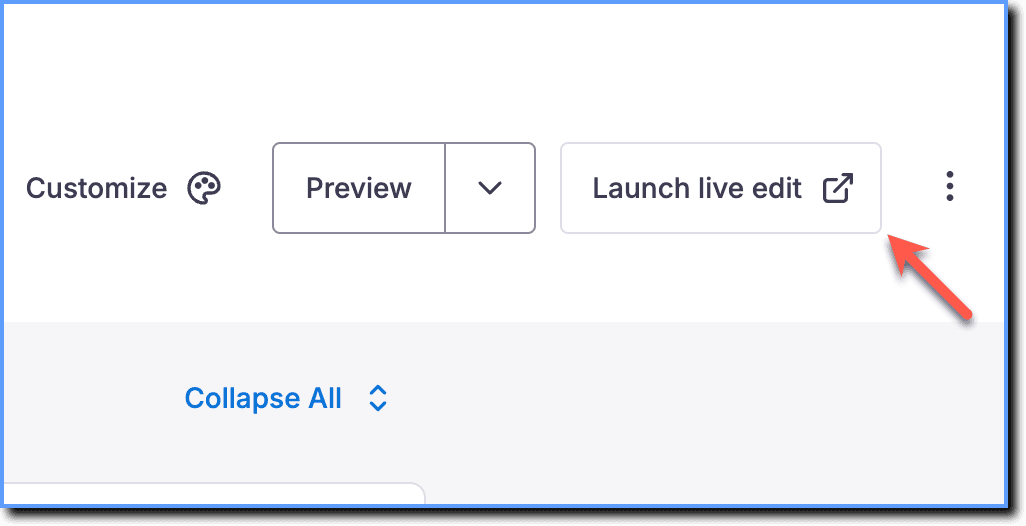
Click Launch live edit.
-
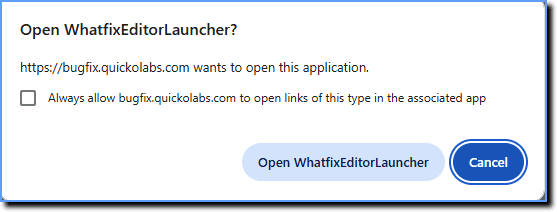
Click Open WhatfixEditorLauncher on the pop-up that appears.
-
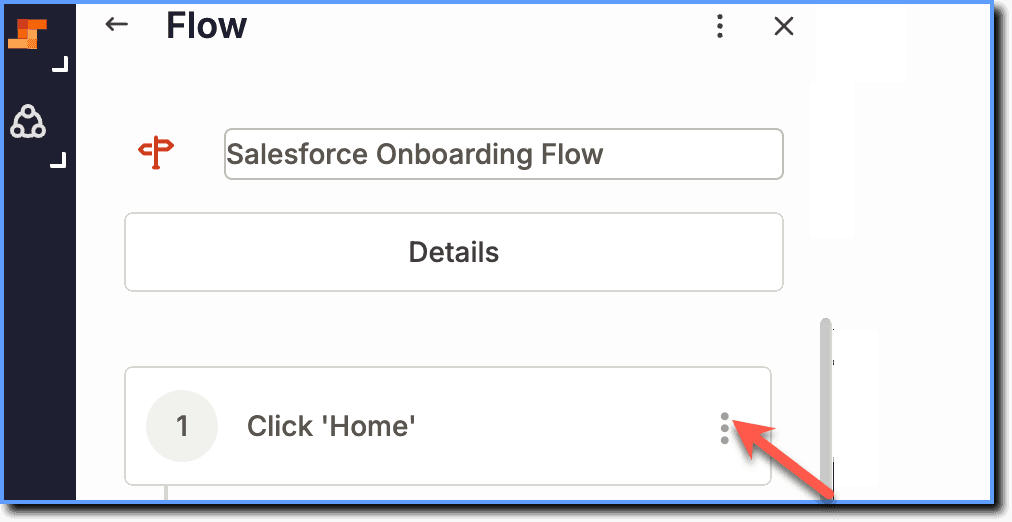
On the Studio, click the more icon on the step where you want to add a step.
-
Using the dropdown select the relevant option.
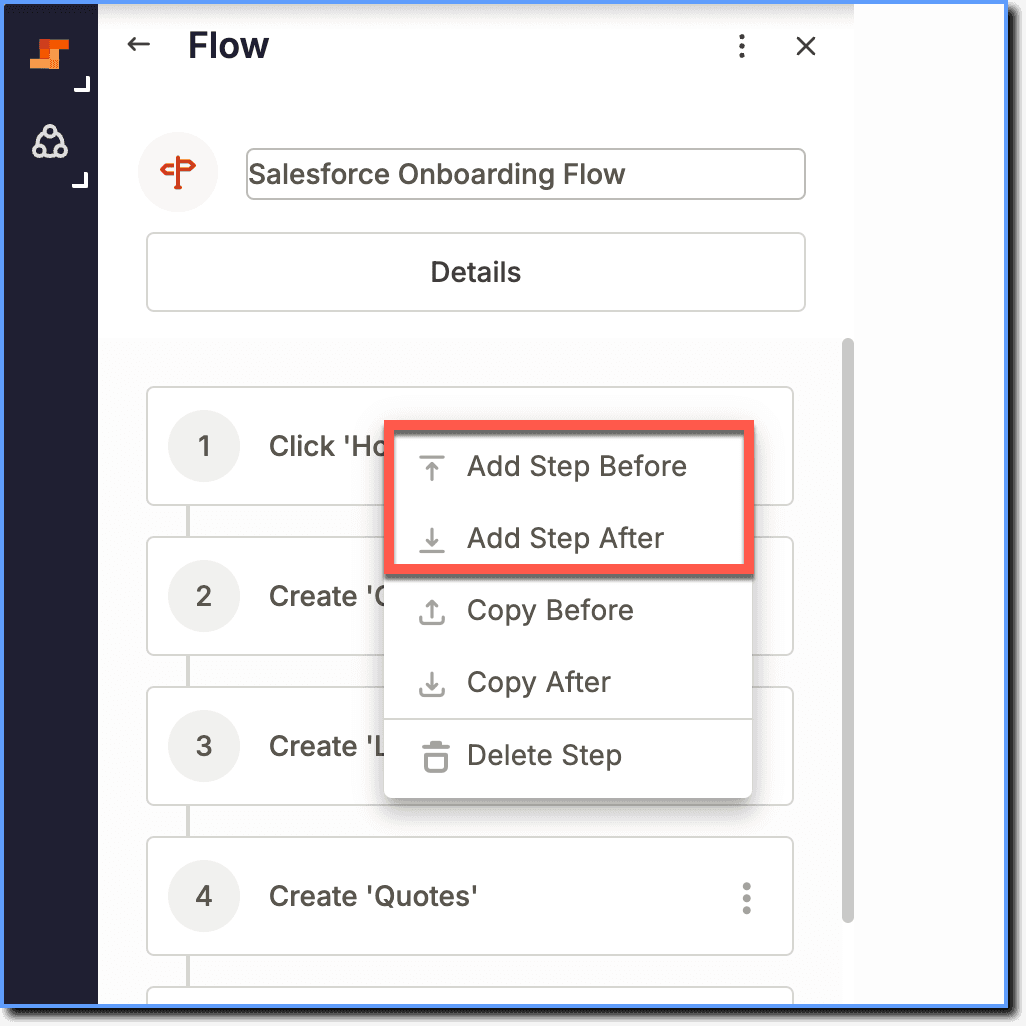
- Add Step Before: This option enables you to add a step before the existing step.
- Add Step After: This option enables you to add a step after the existing step.
- You can then select the element on the application, enter the step description, and other information.
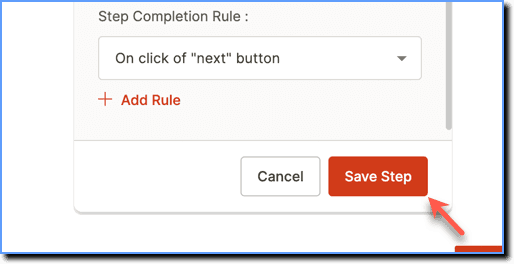
- Click Save Step.
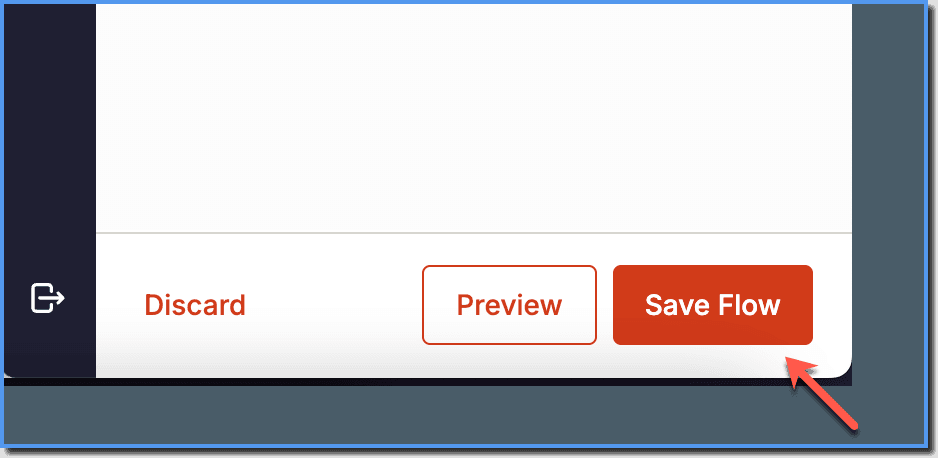
- Click Save Flow.